LiveLitigation
RealtimeeSuiteExhibitsDownloadsAboutNewsContactSign Up

How to Use LiveLitigation Exhibits

Step-by-step instructions for uploading, presenting, stamping, and marking exhibits during a LiveLitigation event.

1. Opening the Exhibits Panel

Once inside a room, locate the Exhibits button in the room controls. Click it to open the Exhibits panel.
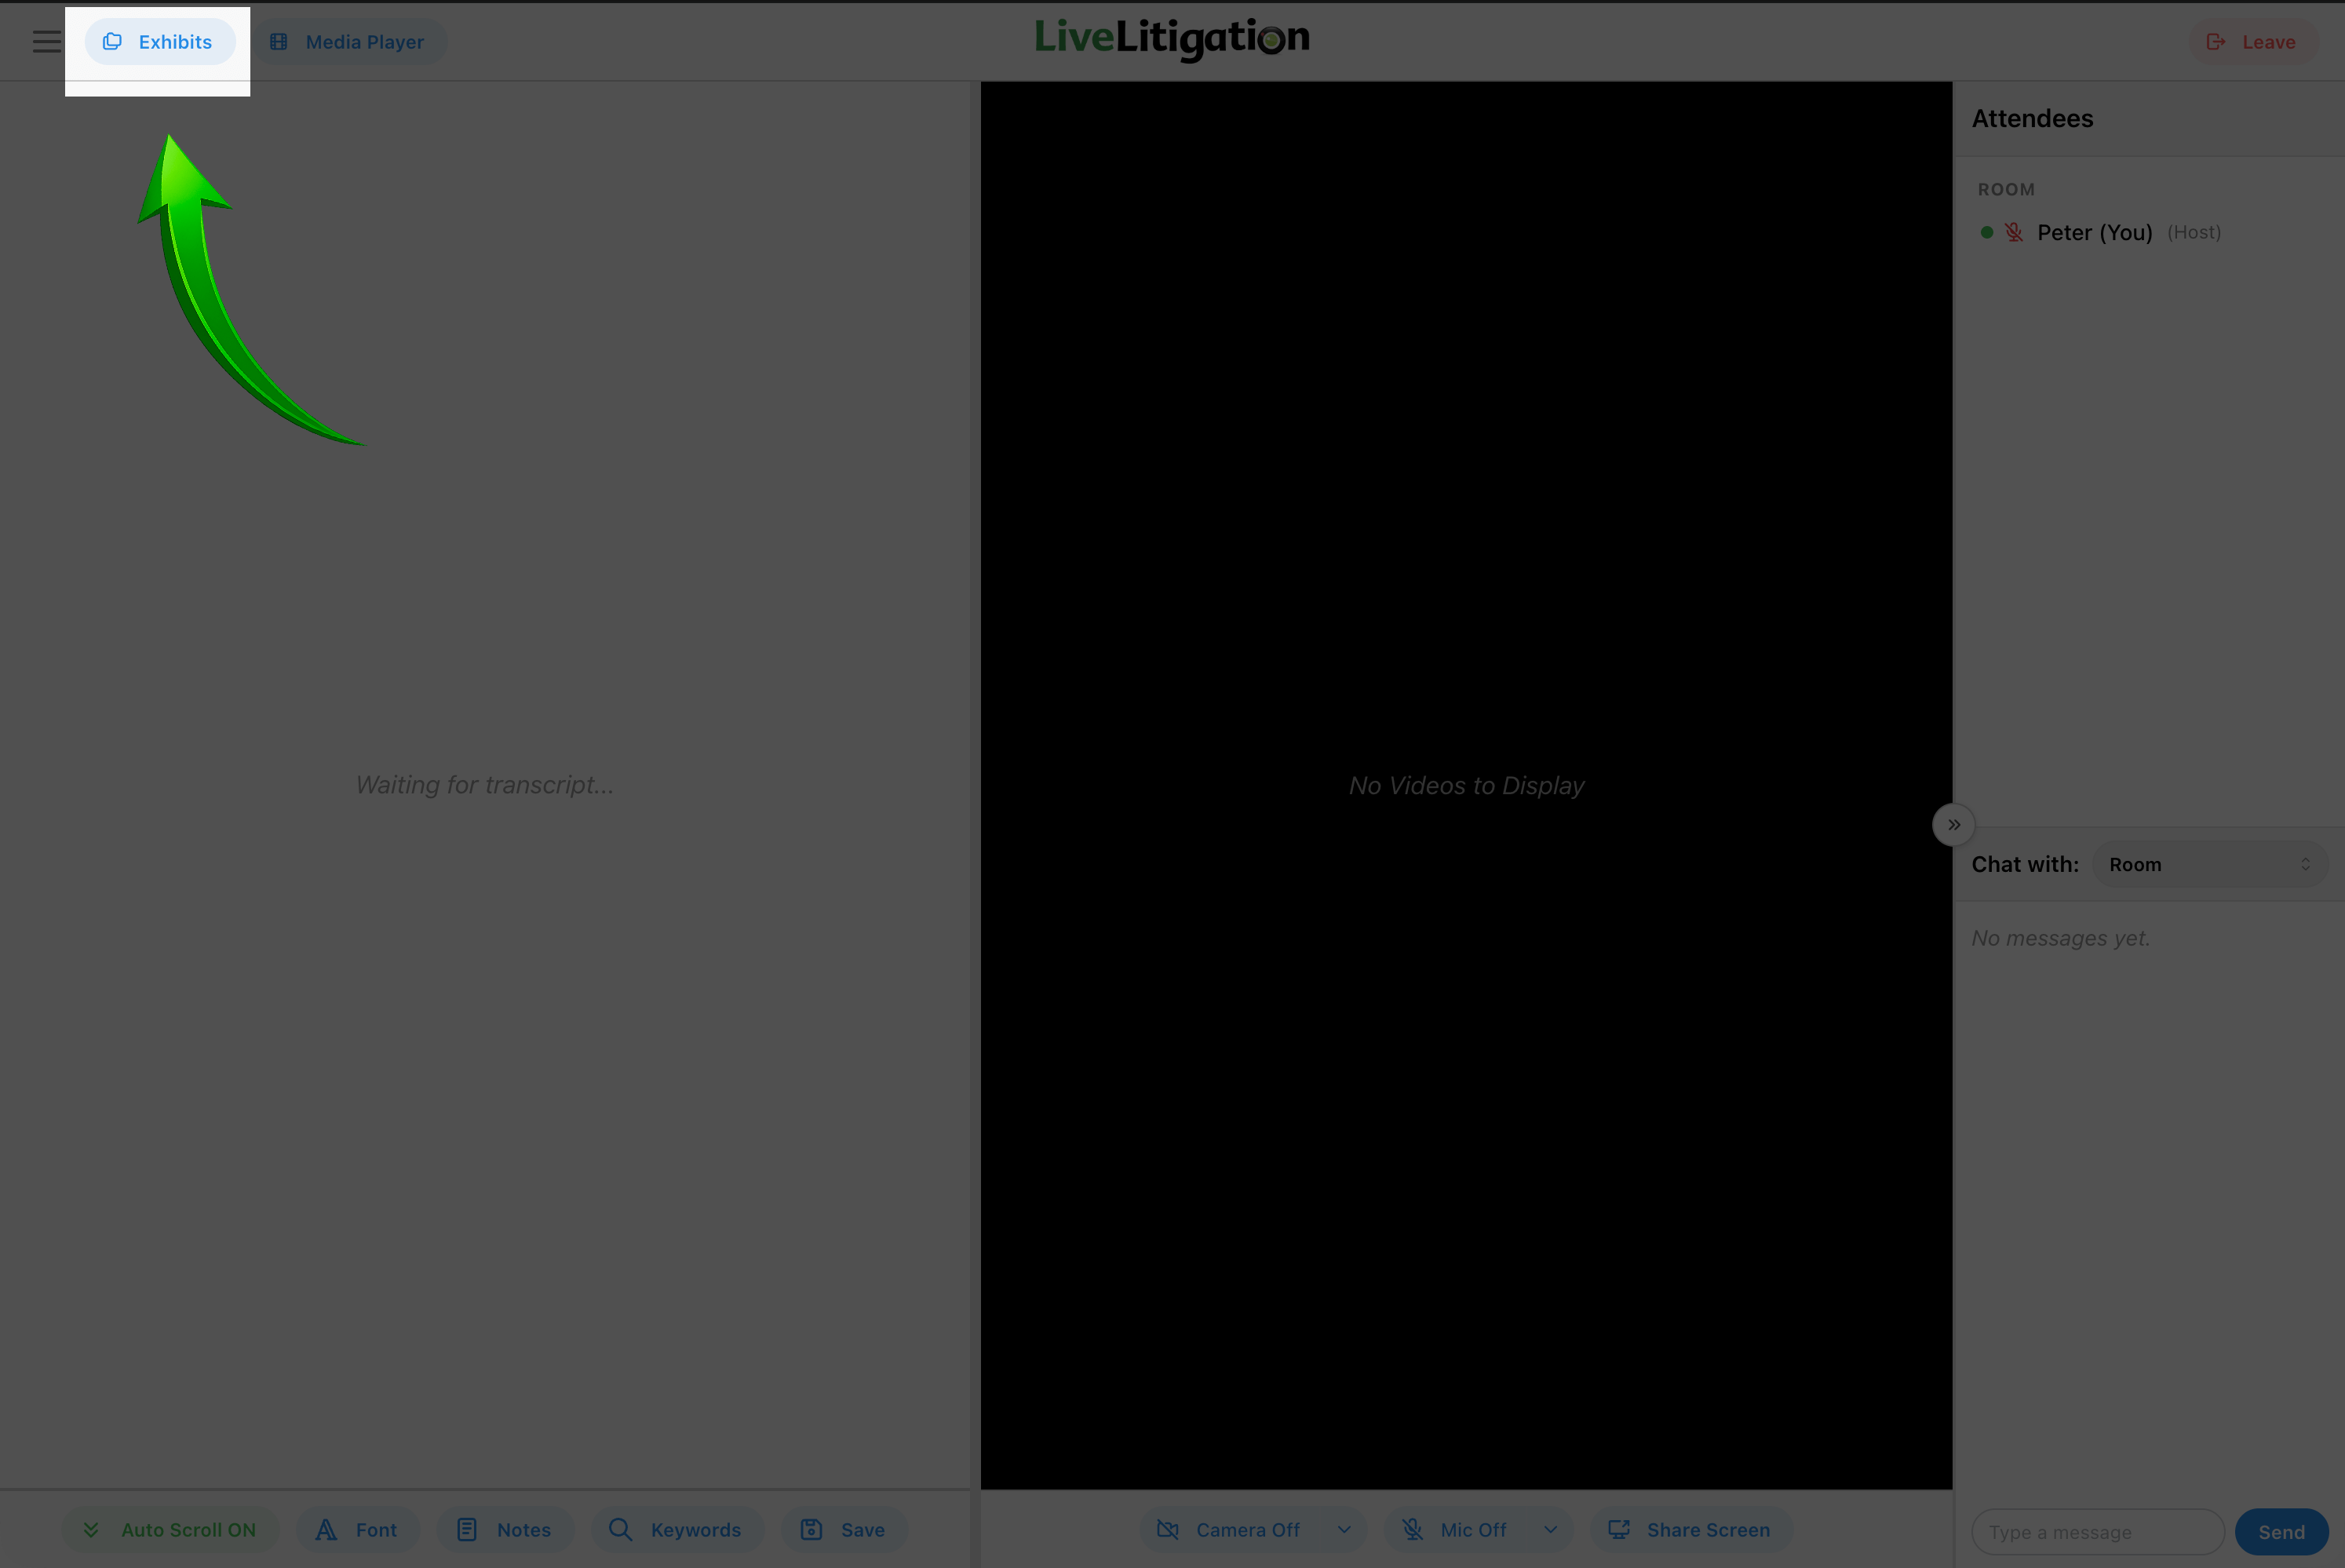
Exhibits control location in room

2. The Exhibits Interface

The Exhibits panel will open showing the exhibit list. If no exhibits have been uploaded yet, or made public, the panel will be empty.

The panel is also where you organise them. You can put exhibits into folders, search the list, and use Download all to take everything away as a single zip file. Each exhibit shows whether it already has saved markup, and submitted copies are grouped under Submitted Exhibits.
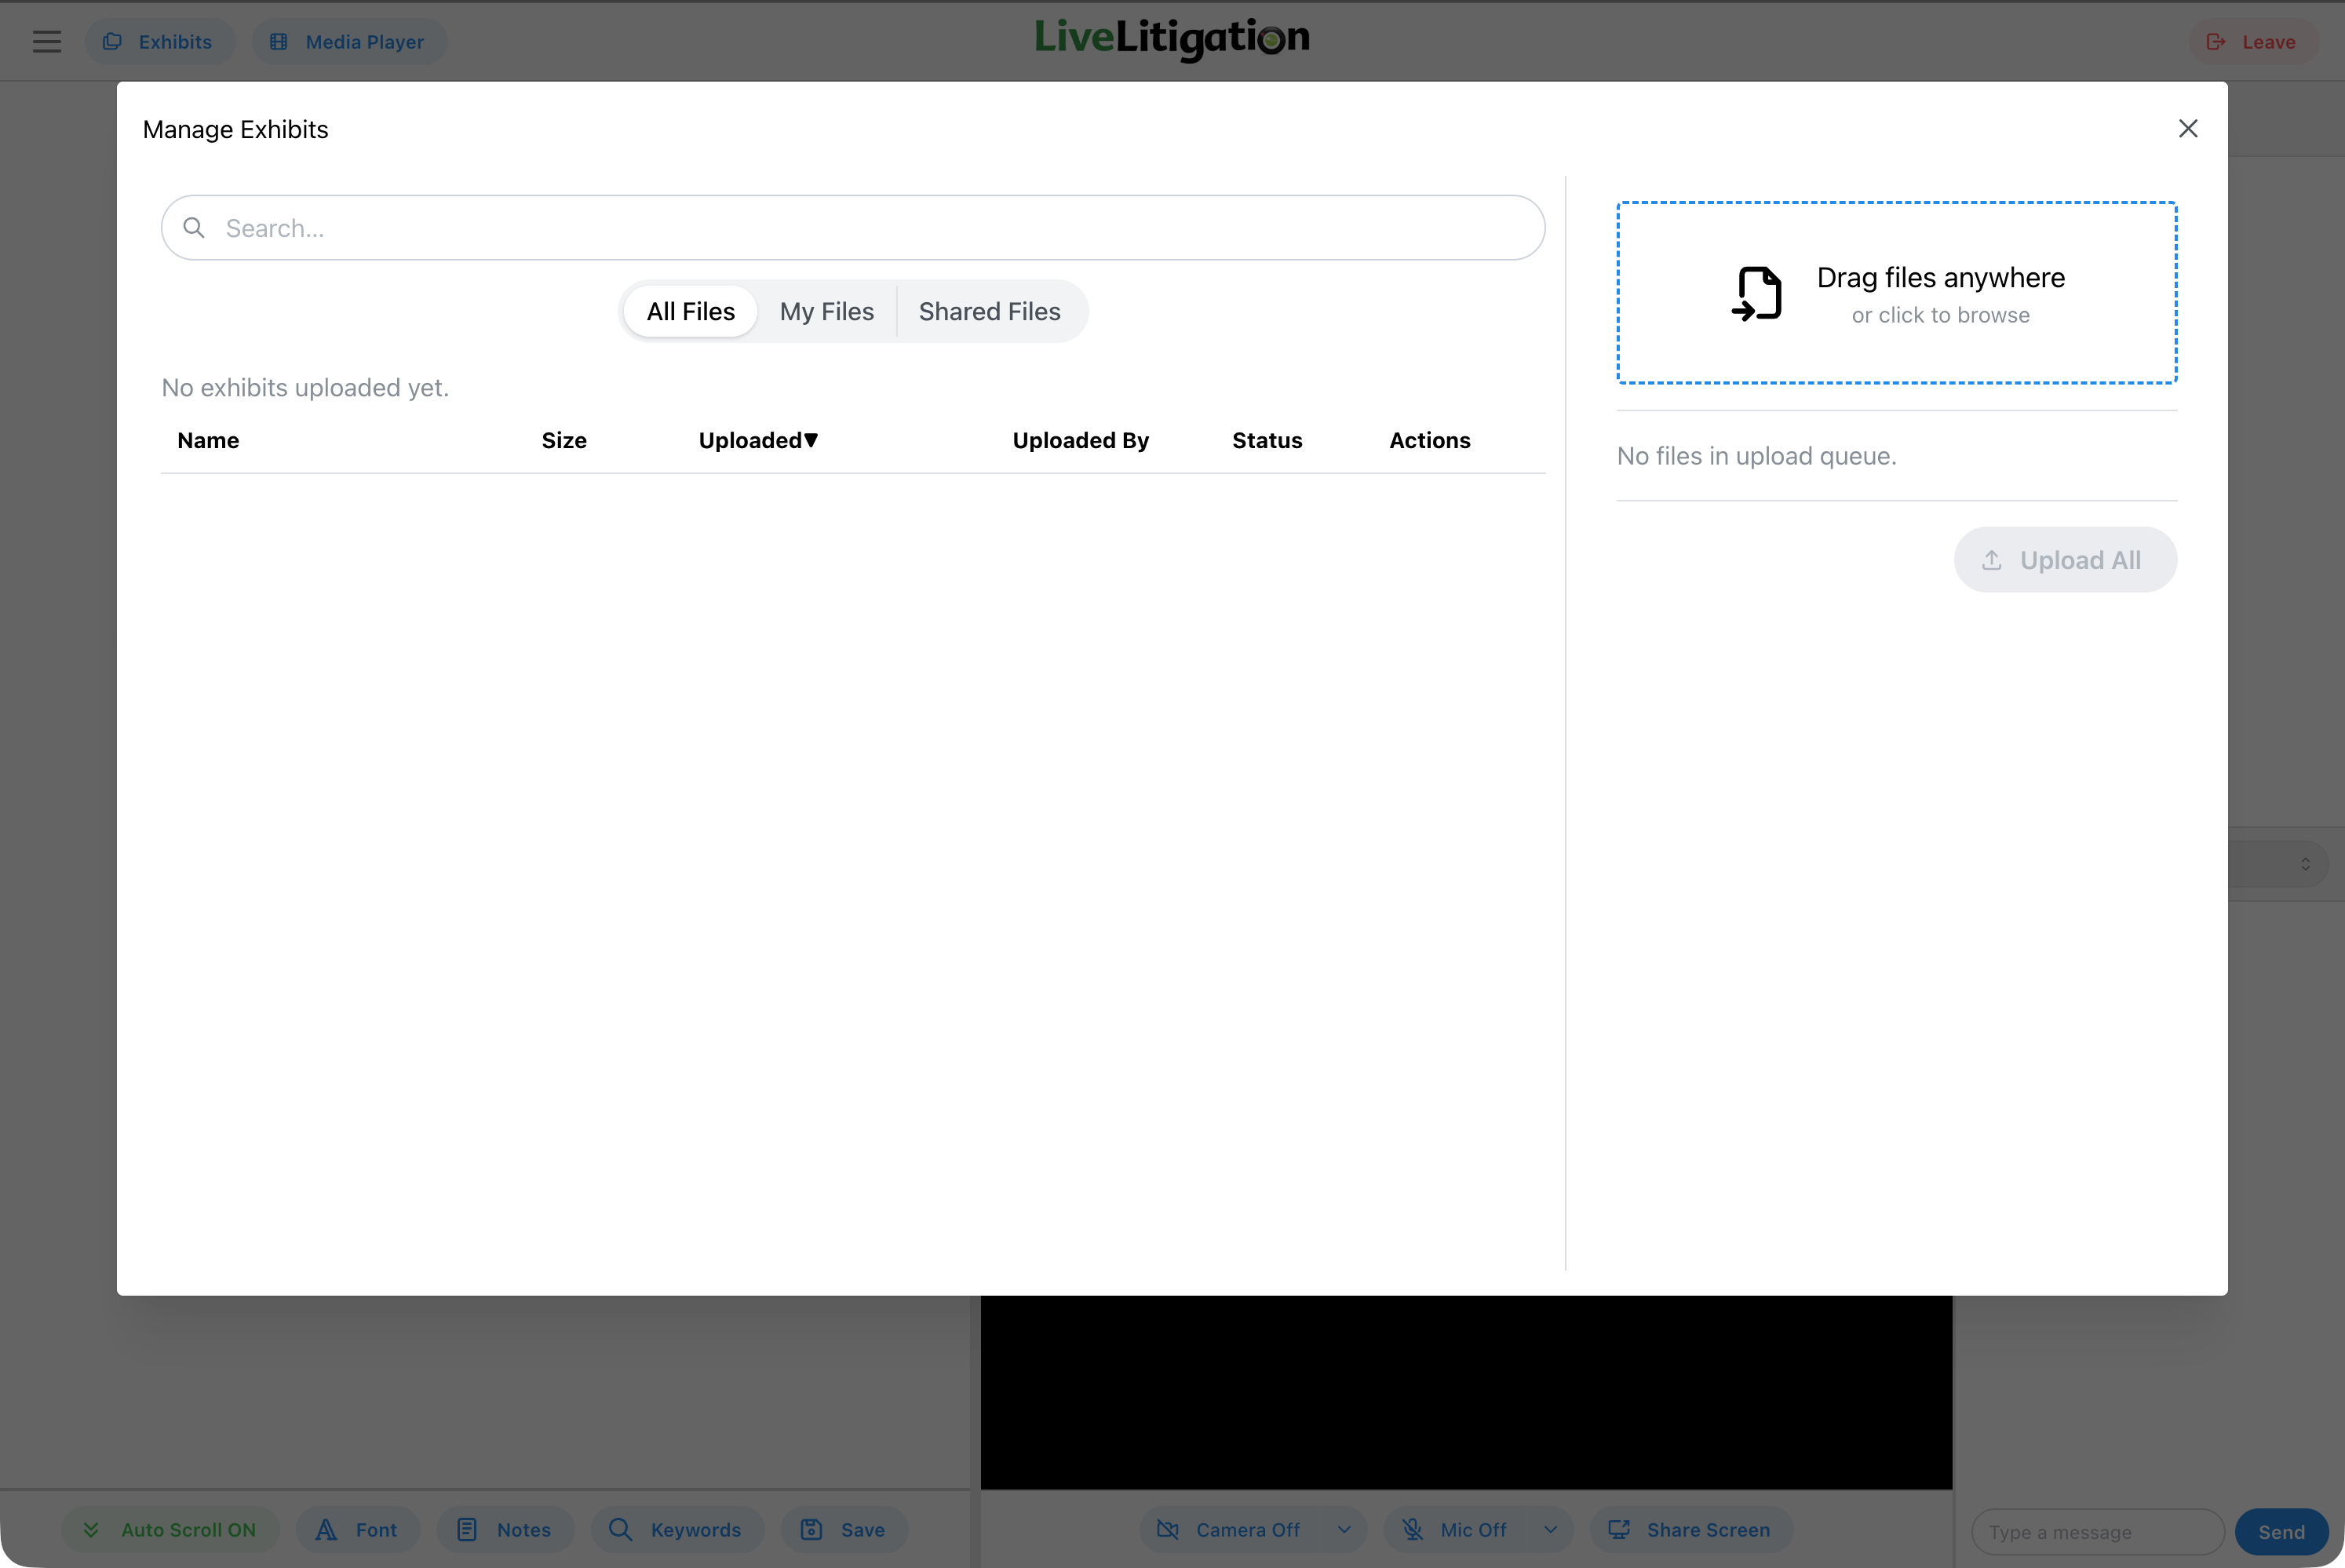
Empty exhibits panel

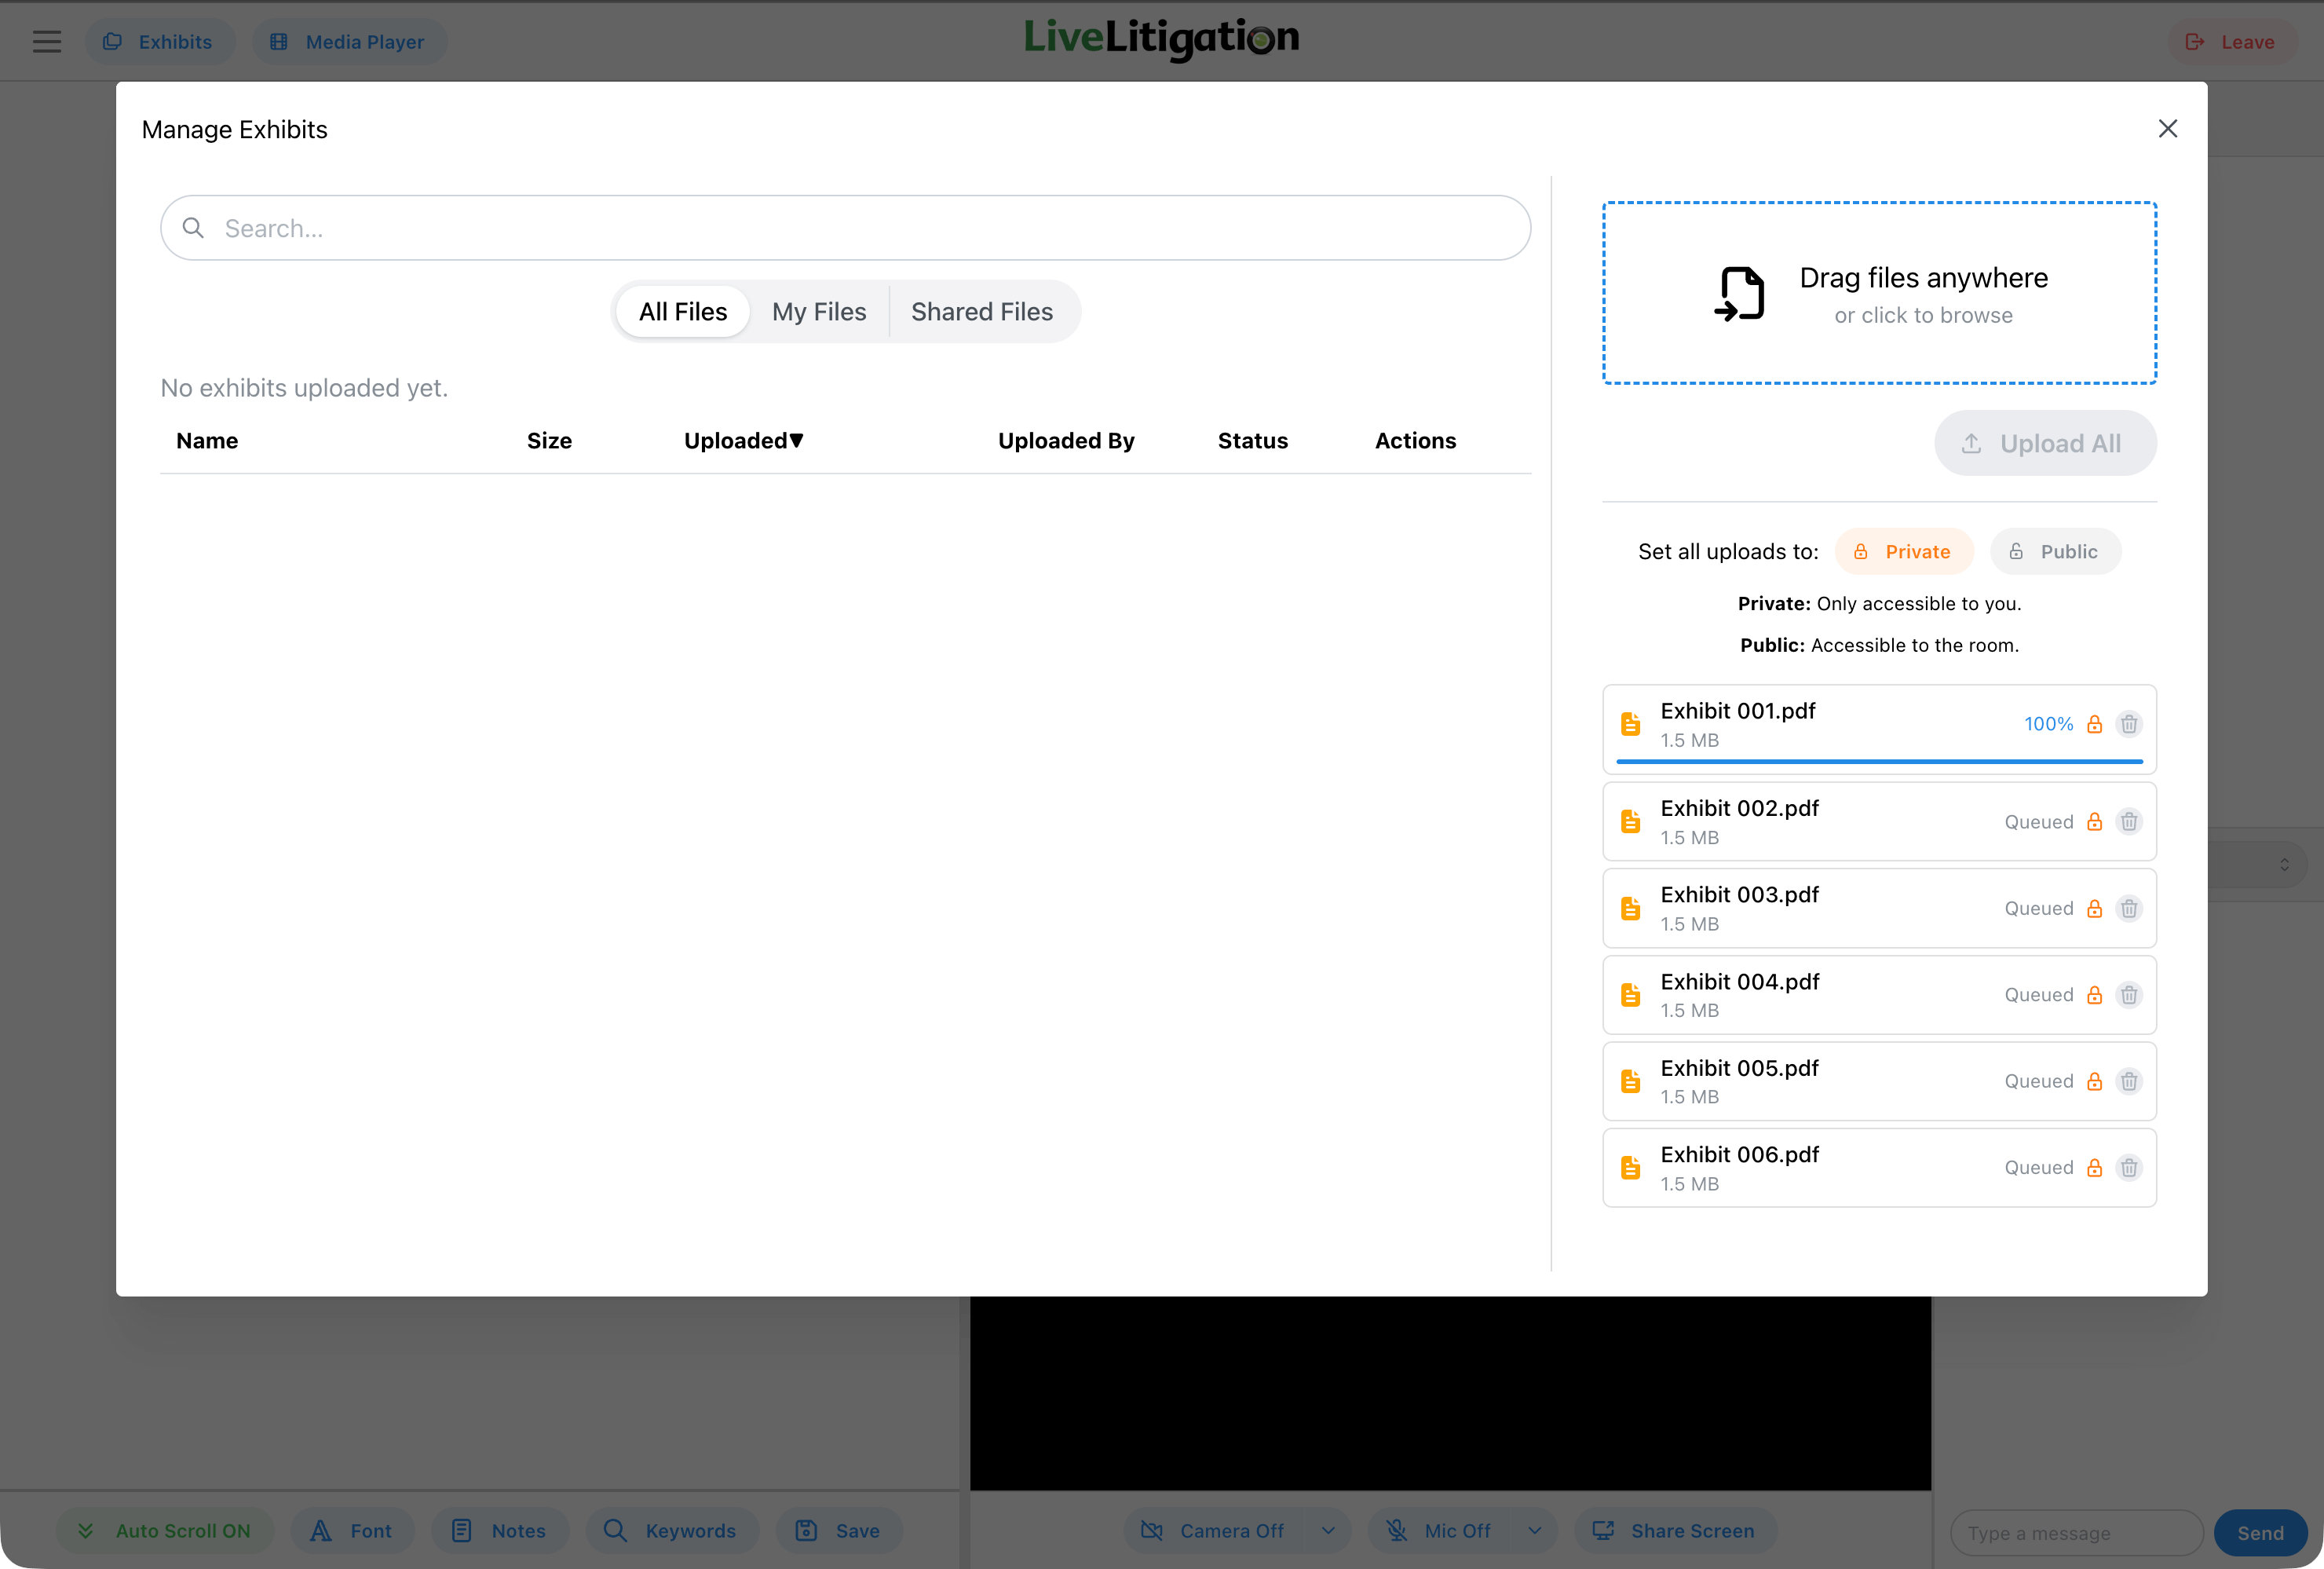
3. Uploading Exhibits

Drag and drop files or click to select files from your computer.

  • PDFs, images, Word, PowerPoint and Excel documents, CSV and text files, and video and audio files can all be used as exhibits.
  • Multiple files can be uploaded at once.
  • Exhibits can be set as Private, Team or Public when uploading.
  • You can also bring in a file you already have: My Files holds documents you have uploaded before, and a connected provider such as Google Drive or Clio lets you import straight from a matter or folder with Add to room.

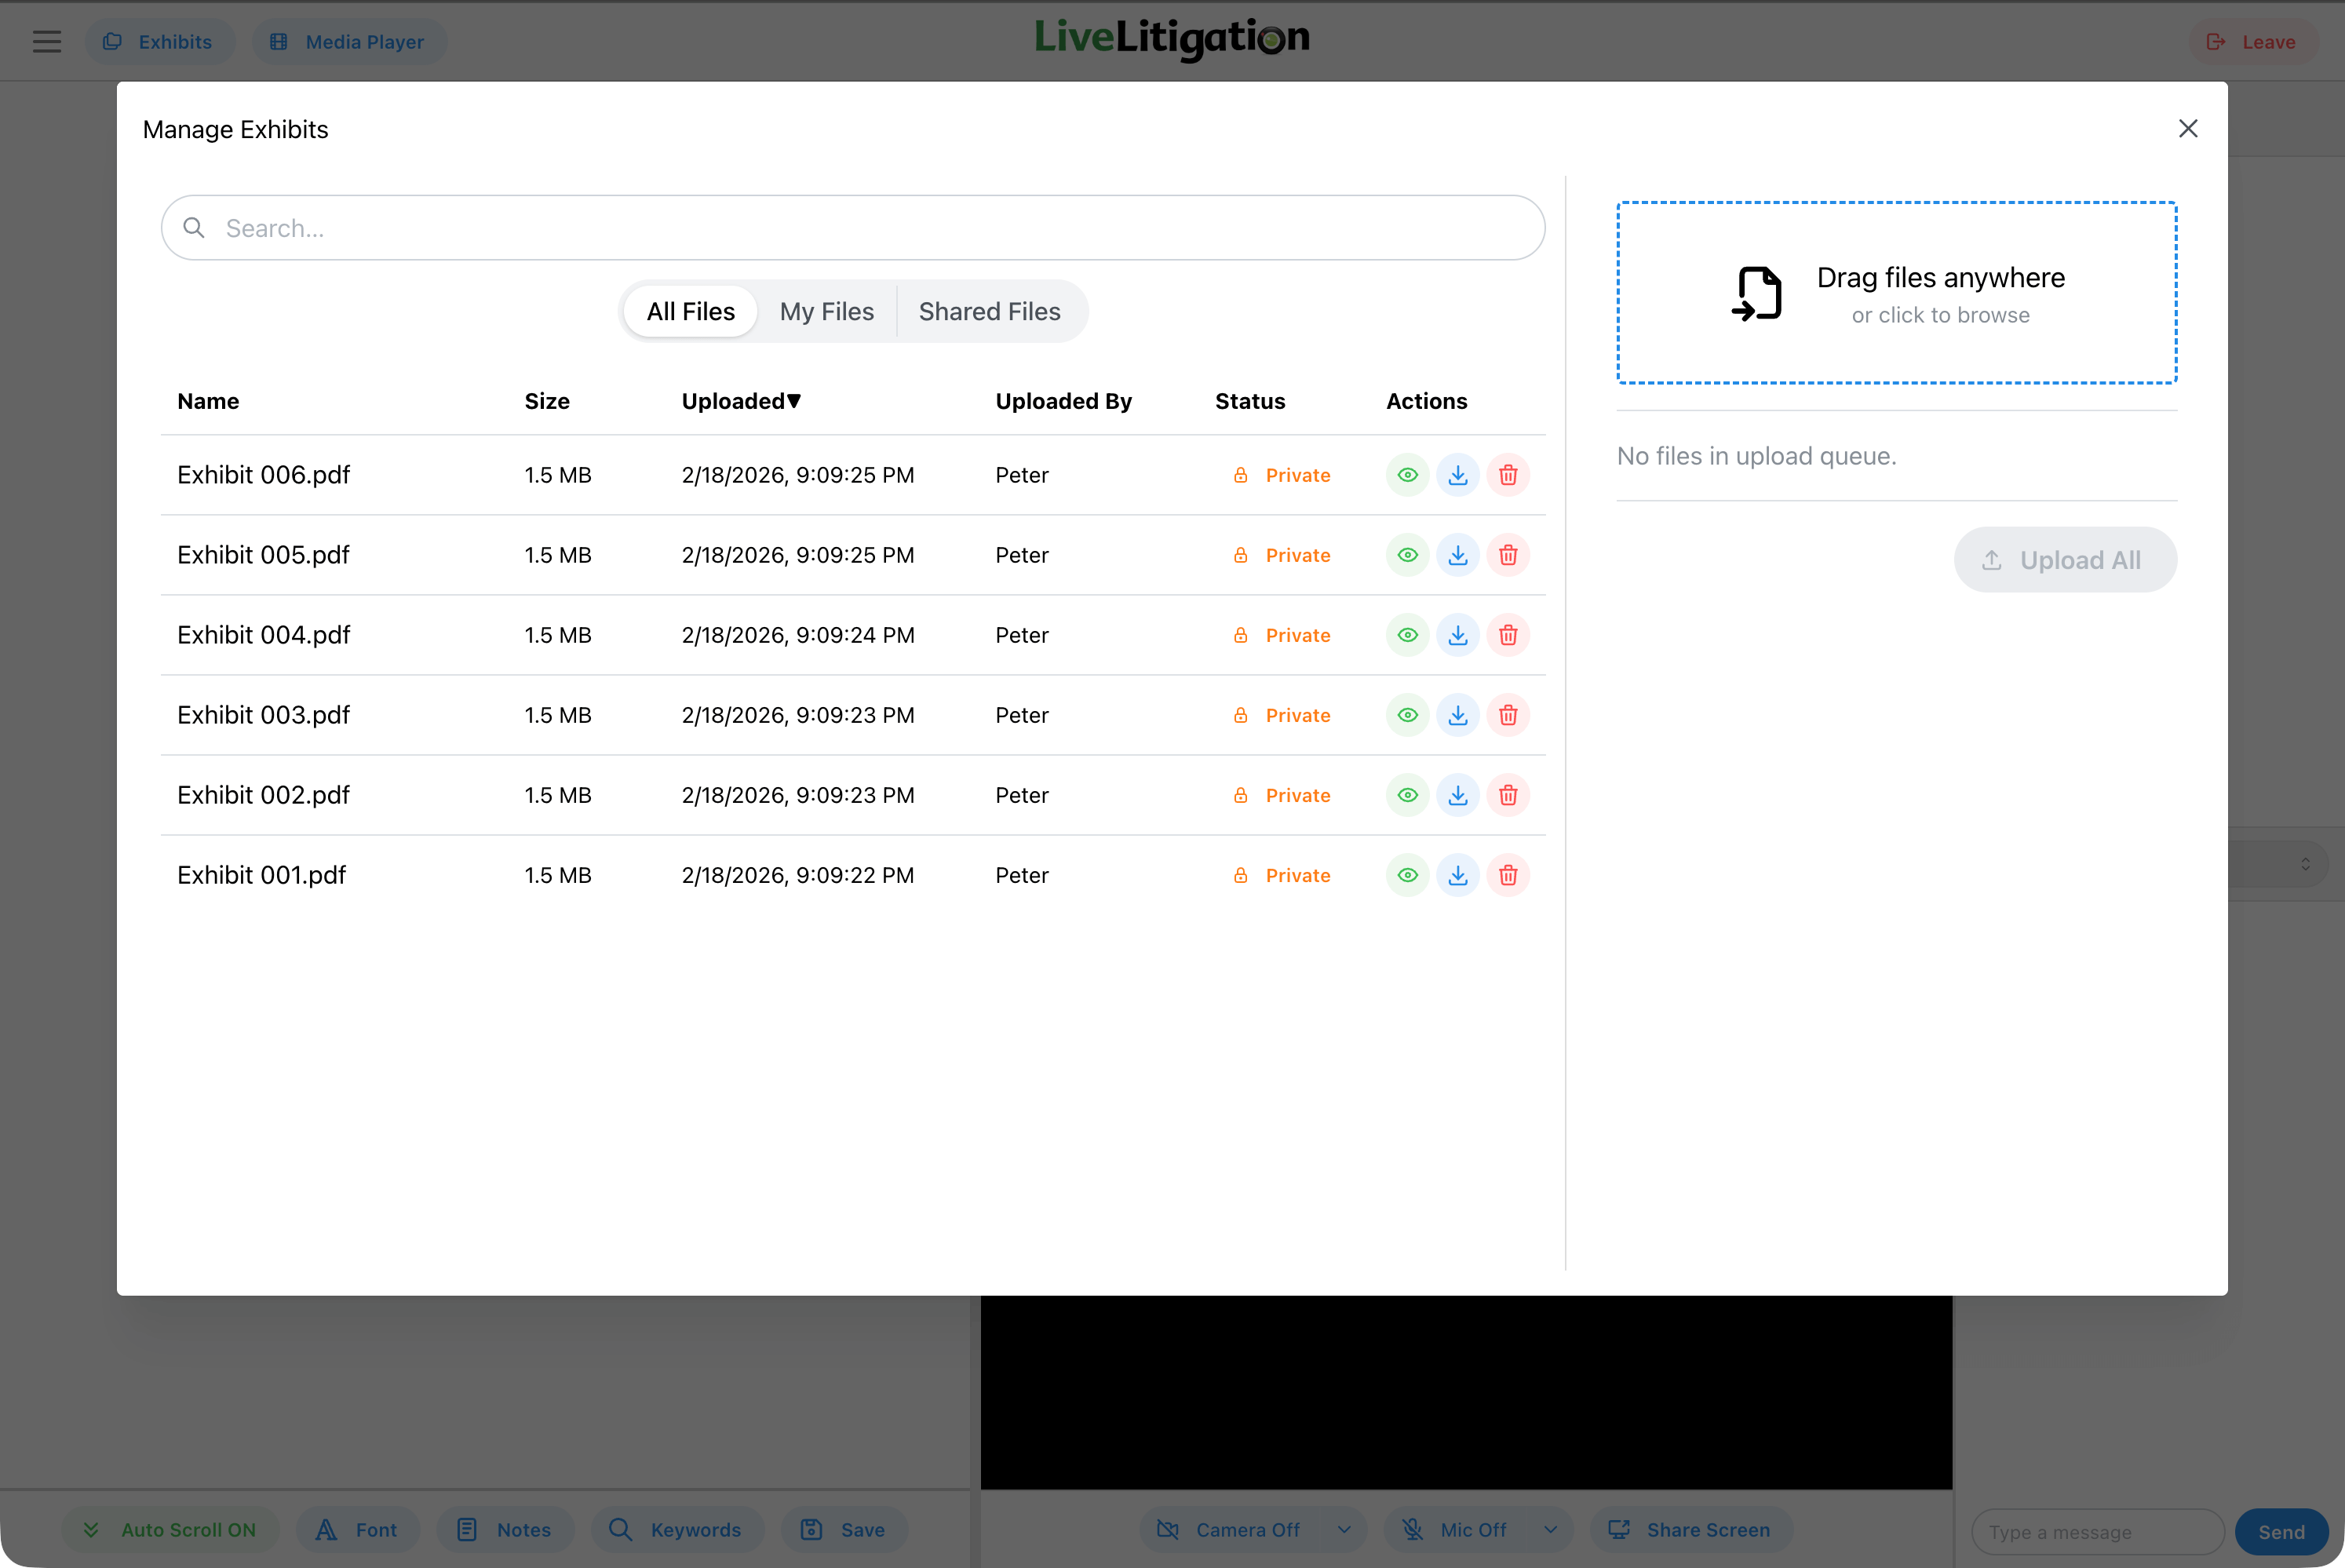
Once uploaded, your exhibits will appear in the exhibit list. Each exhibit shows its filename and status.
Uploading exhibits

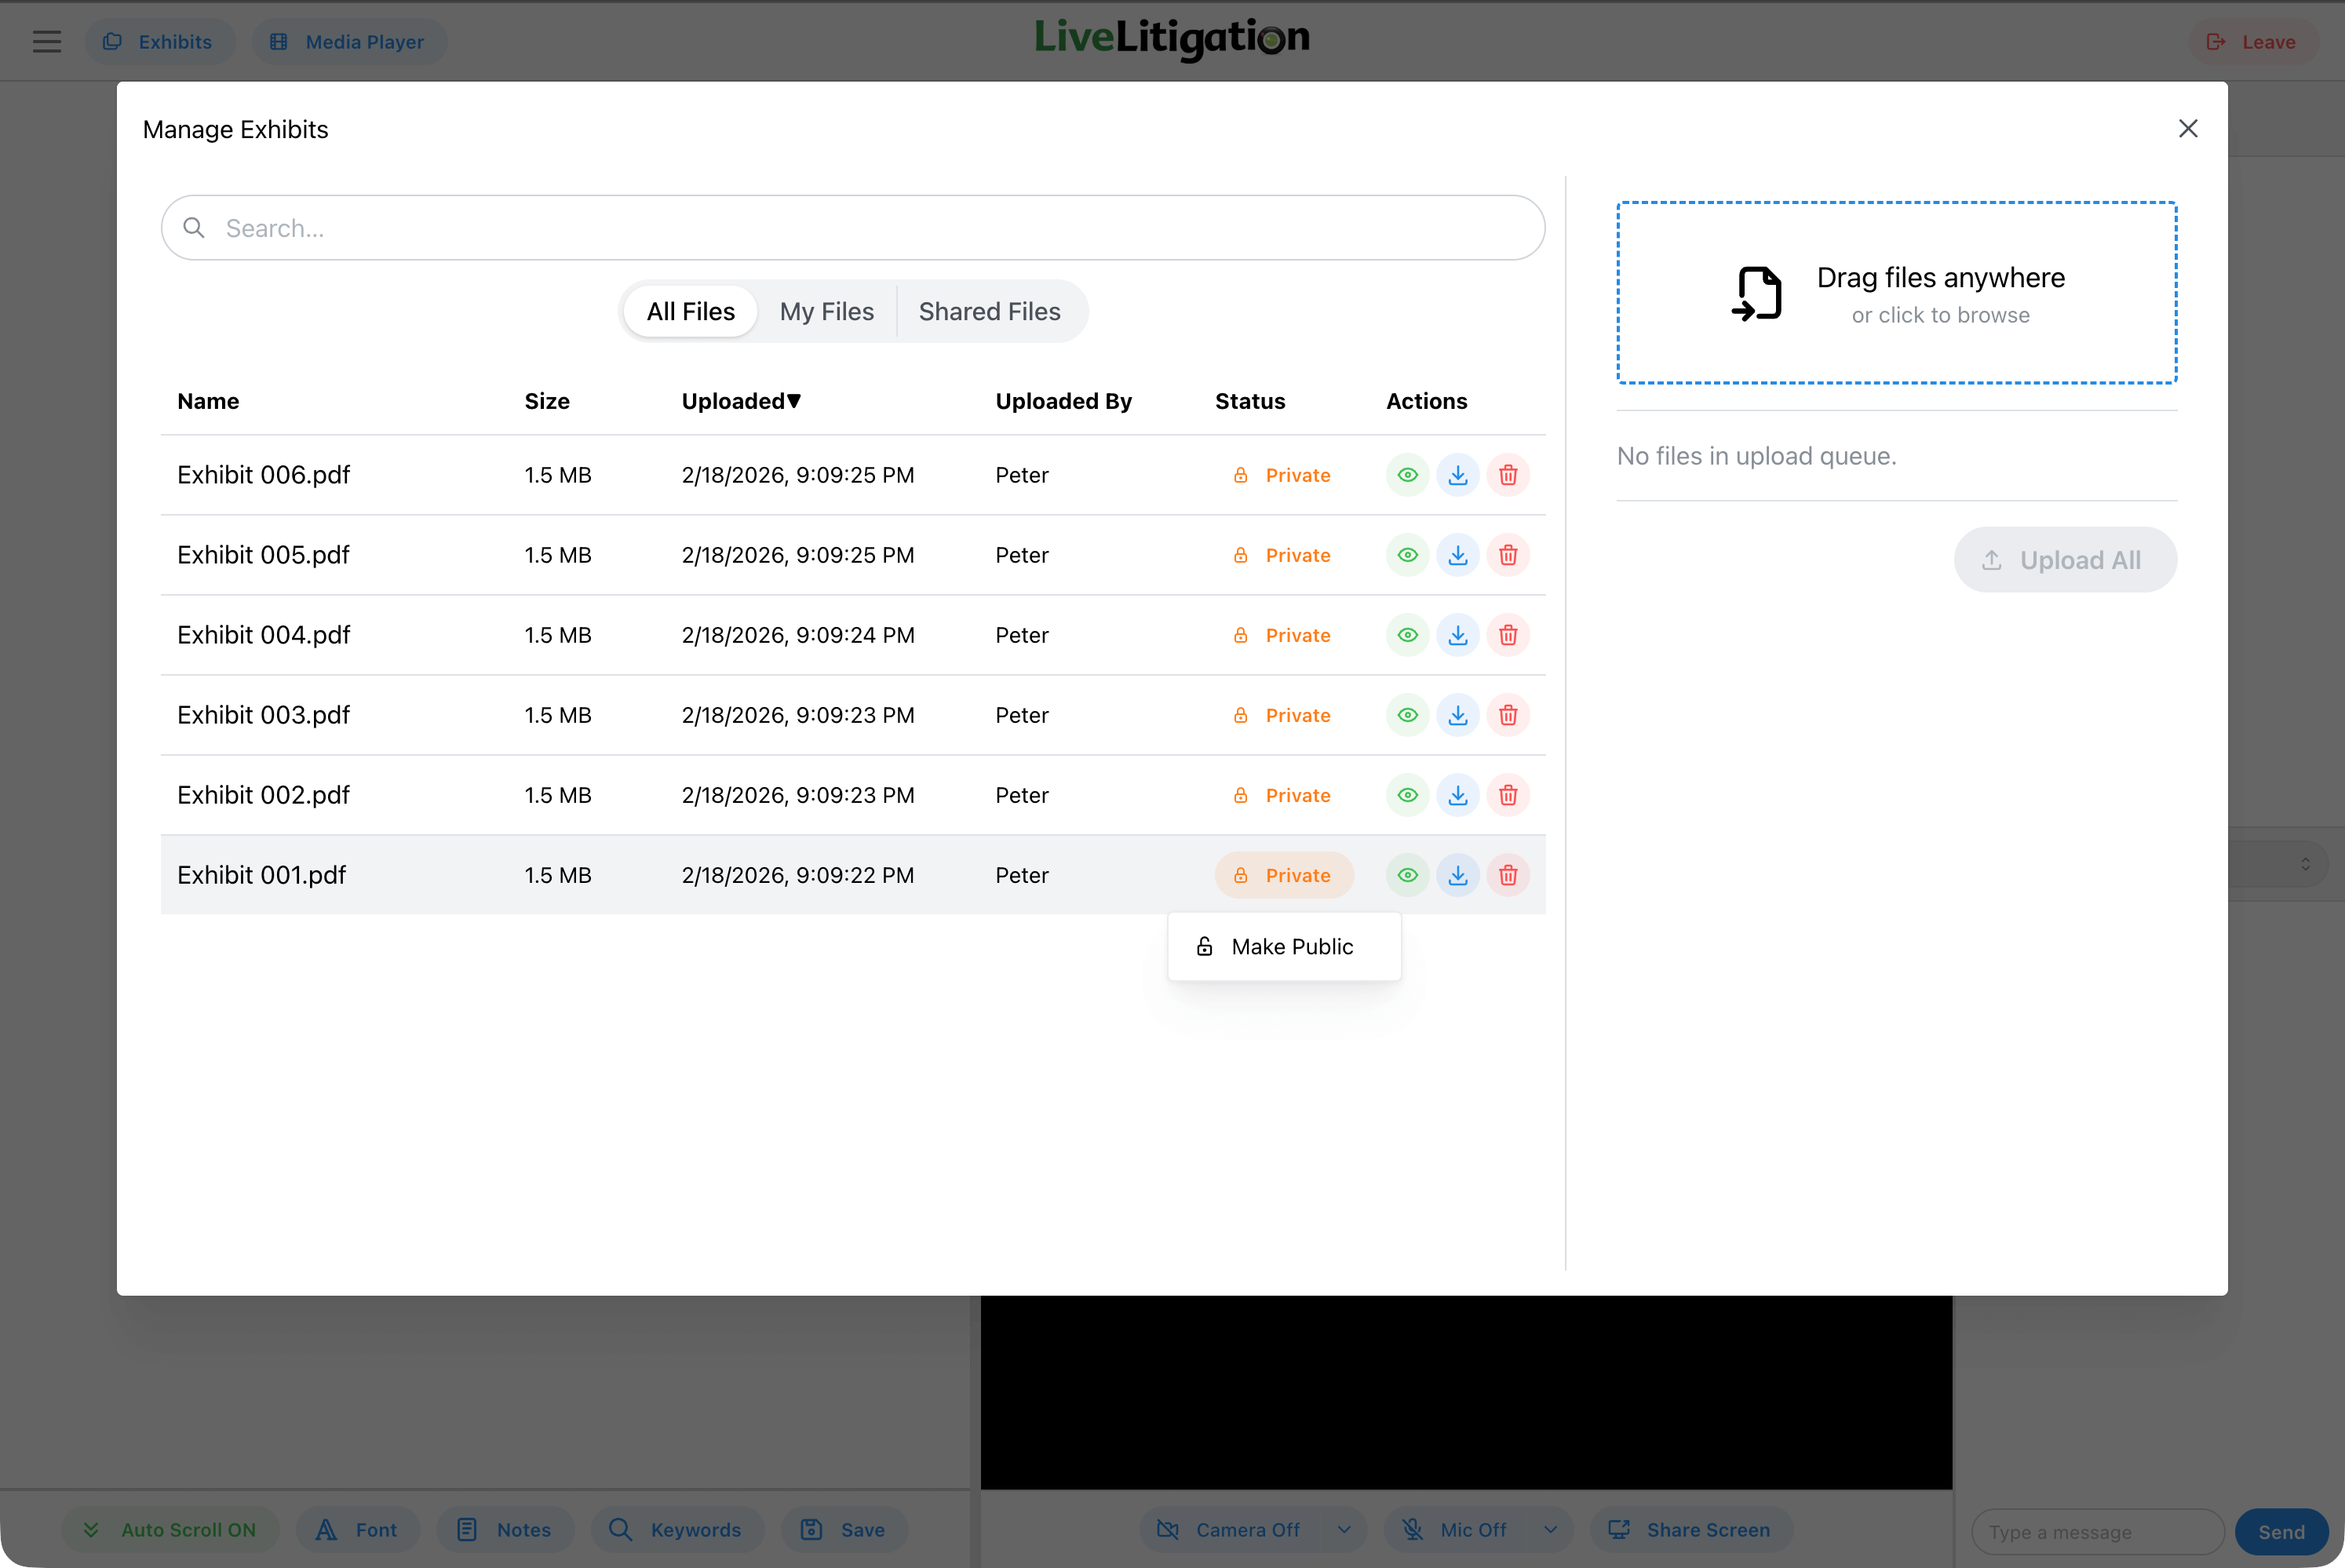
4. Privacy Settings

Adjust the visibility of each exhibit to control who can see it. There are three levels.
  • Private - only accessible to you.
  • Team - accessible to your team only, if you have been put on one.
  • Public - accessible to the room.
Exhibit privacy settings

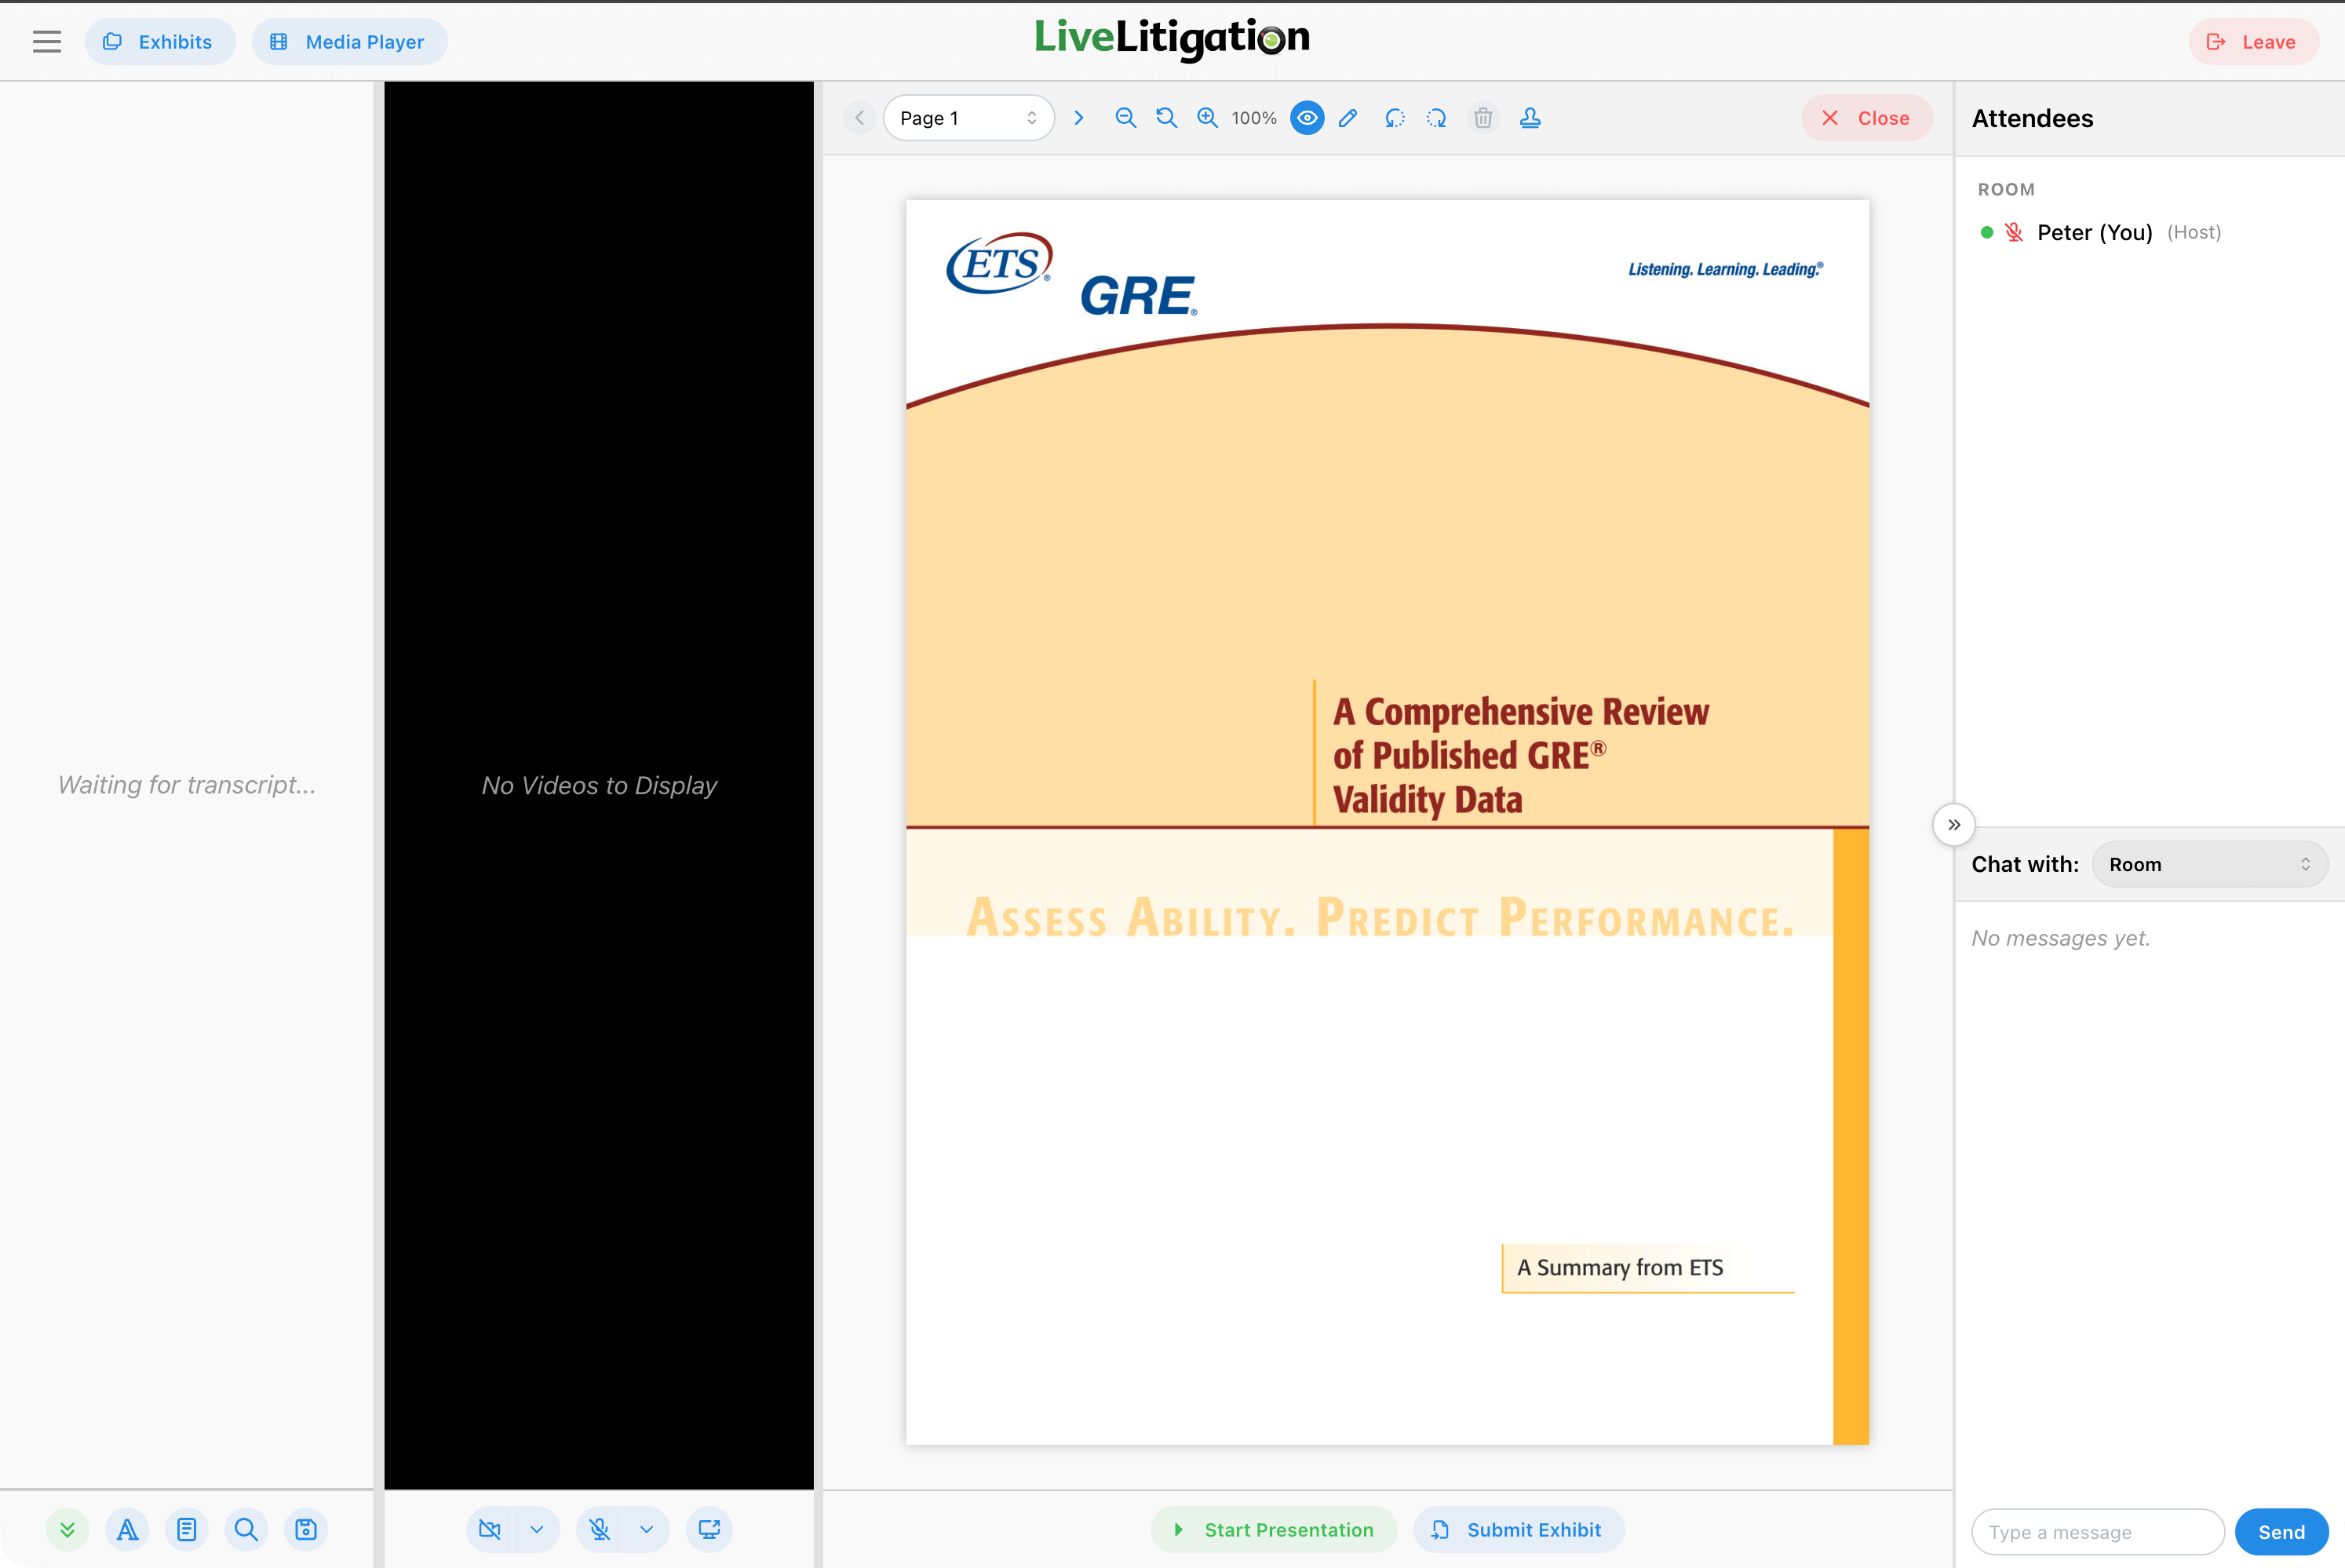
5. Viewing an Exhibit

Click on an exhibit to open it in the document viewer. You can move through pages, zoom, and navigate the document.
  • Rotate left and Rotate right turn a page that was scanned sideways.
  • Fullscreen gives the document the whole window.
  • Focus on selection zooms to the part you have marked, which is useful when questioning on a specific clause.
Viewing an exhibit

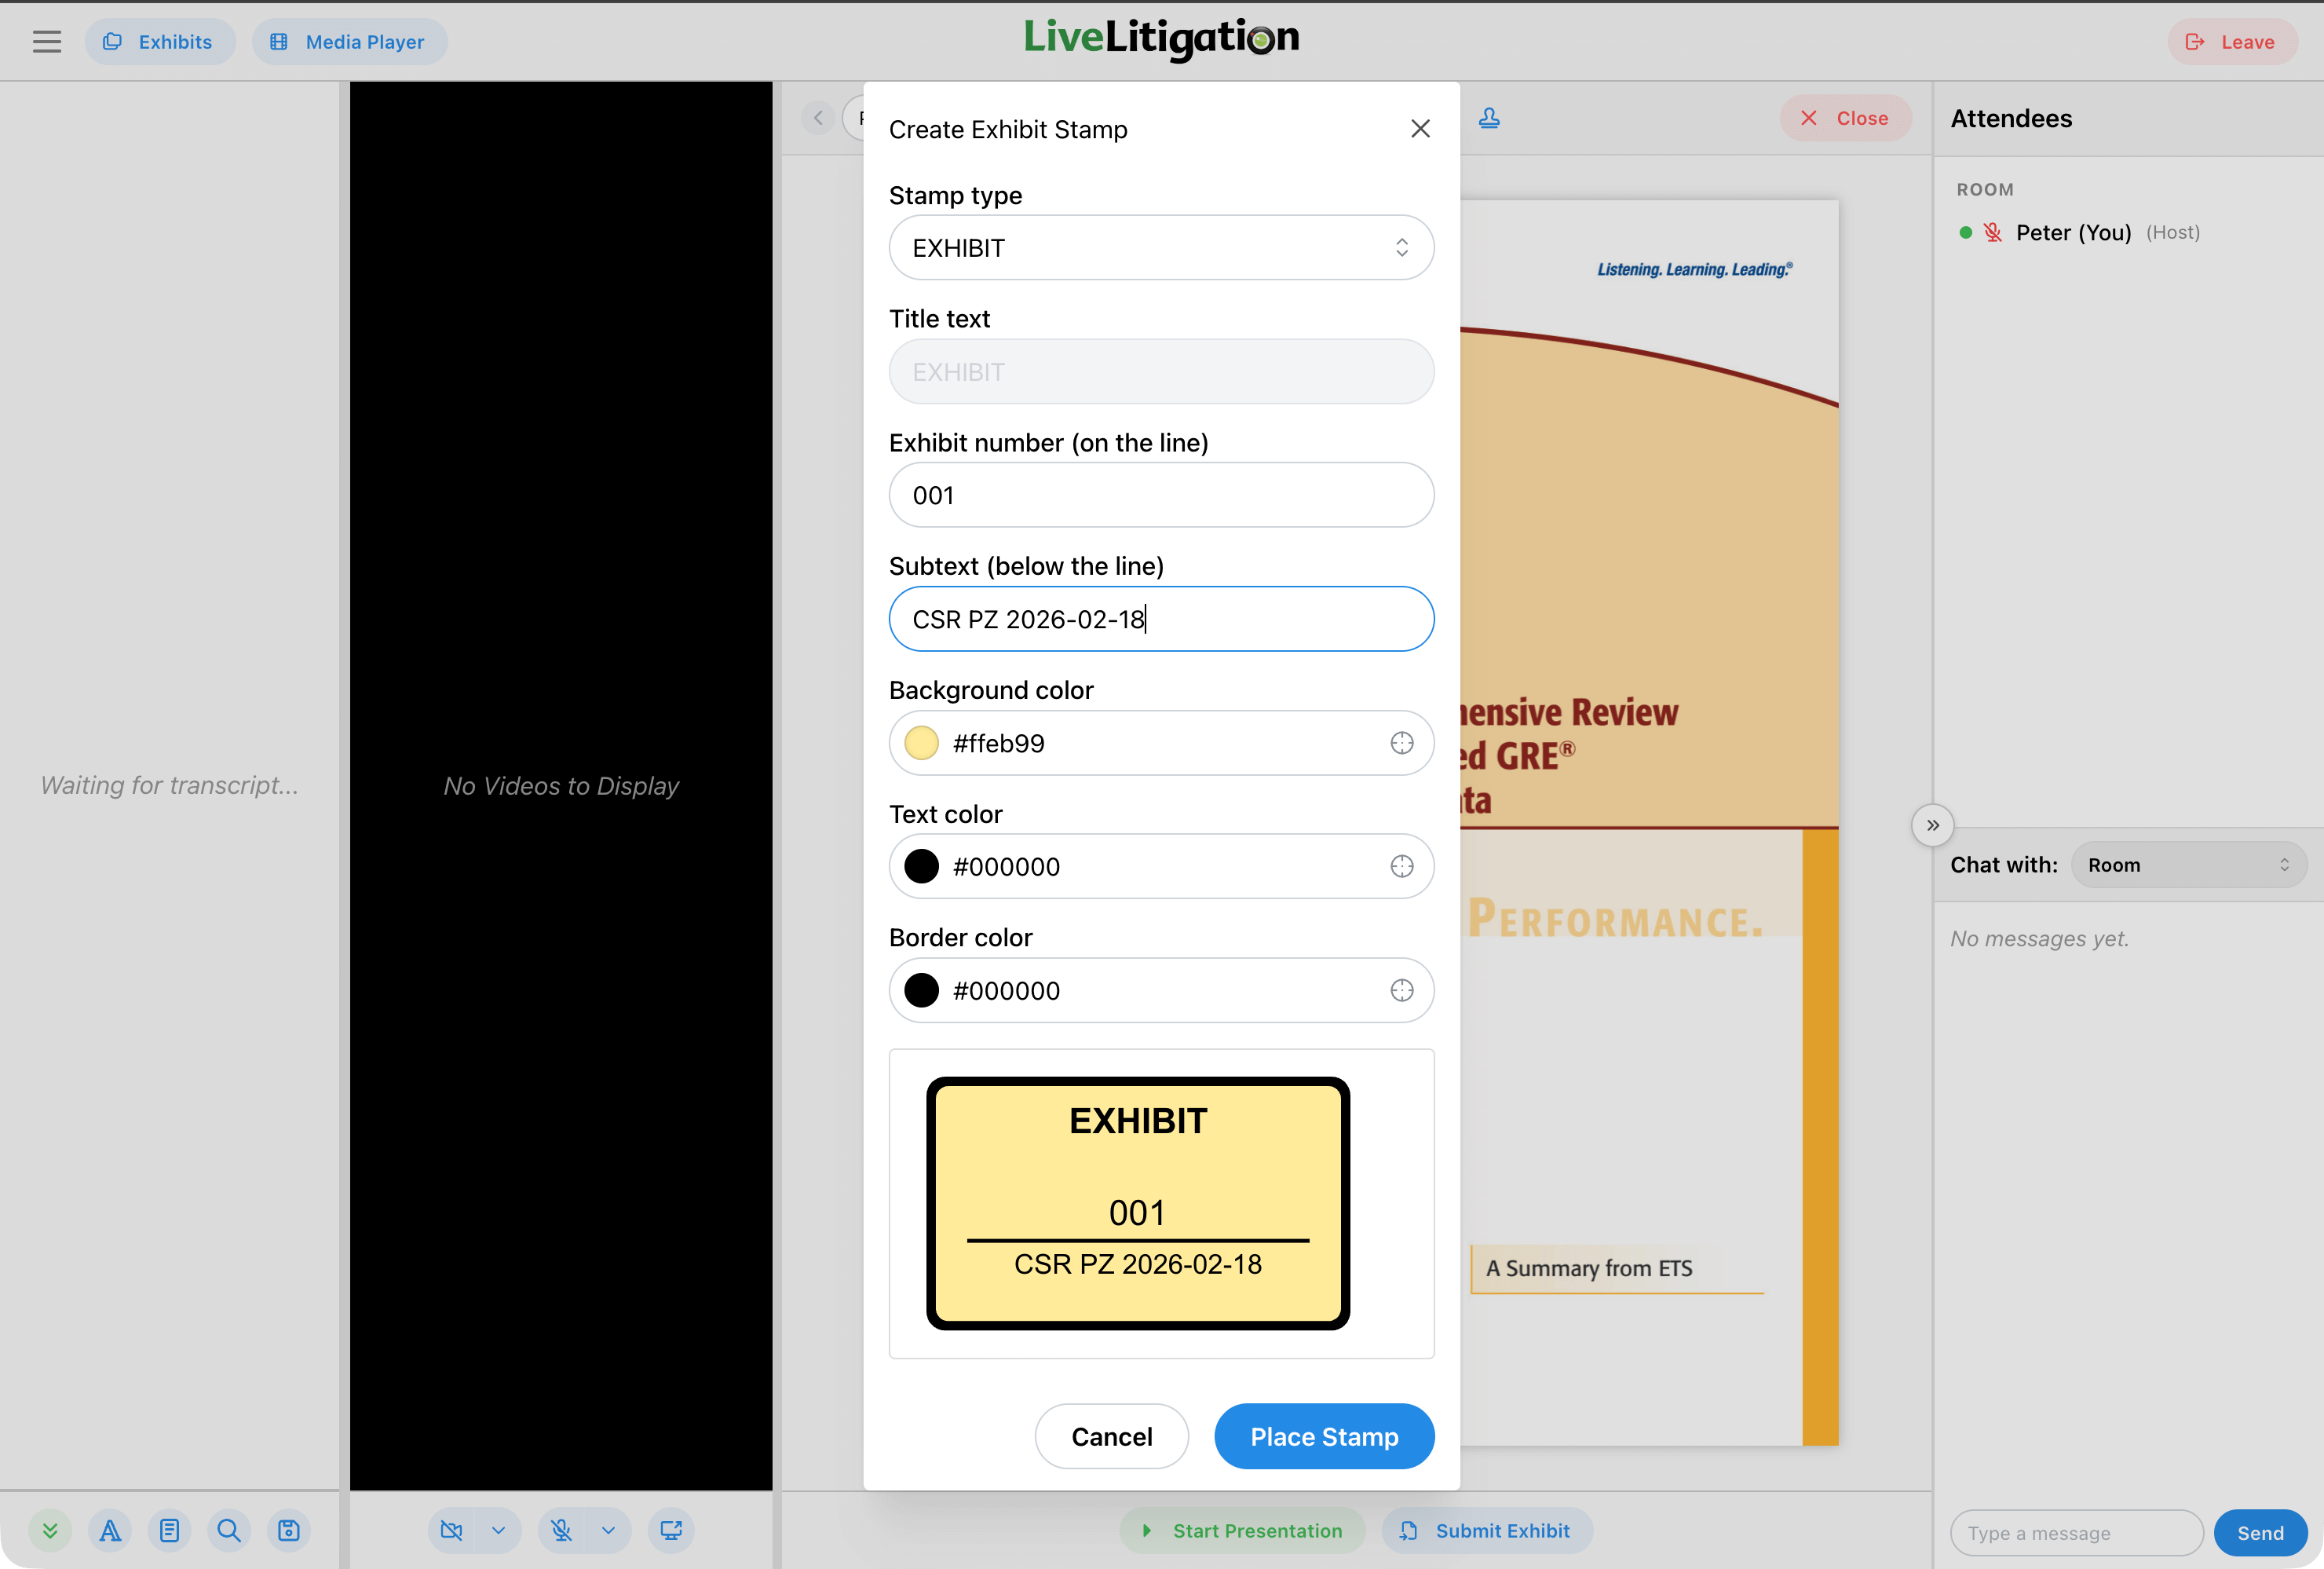
6. Stamping an Exhibit

Use the Stamp feature to apply an official exhibit stamp to the document. This marks the exhibit with a label for the record.
  • Customize the stamp contents and color.
  • Drag and resize the stamp as needed to position it on the document.
Stamping an exhibit

7. Presenting an Exhibit

Click Start Presentation to share the exhibit on screen for all participants. The exhibit will be displayed in the main viewing area for everyone in the room.
  • Click Permissions to change who can markup the running exhibit.
  • You can give temporary markup permission to anyone in the room including the Witness.
  • Click Stop Presentation to stop sharing the exhibit.
Presenting an exhibit

8. Markup Tools

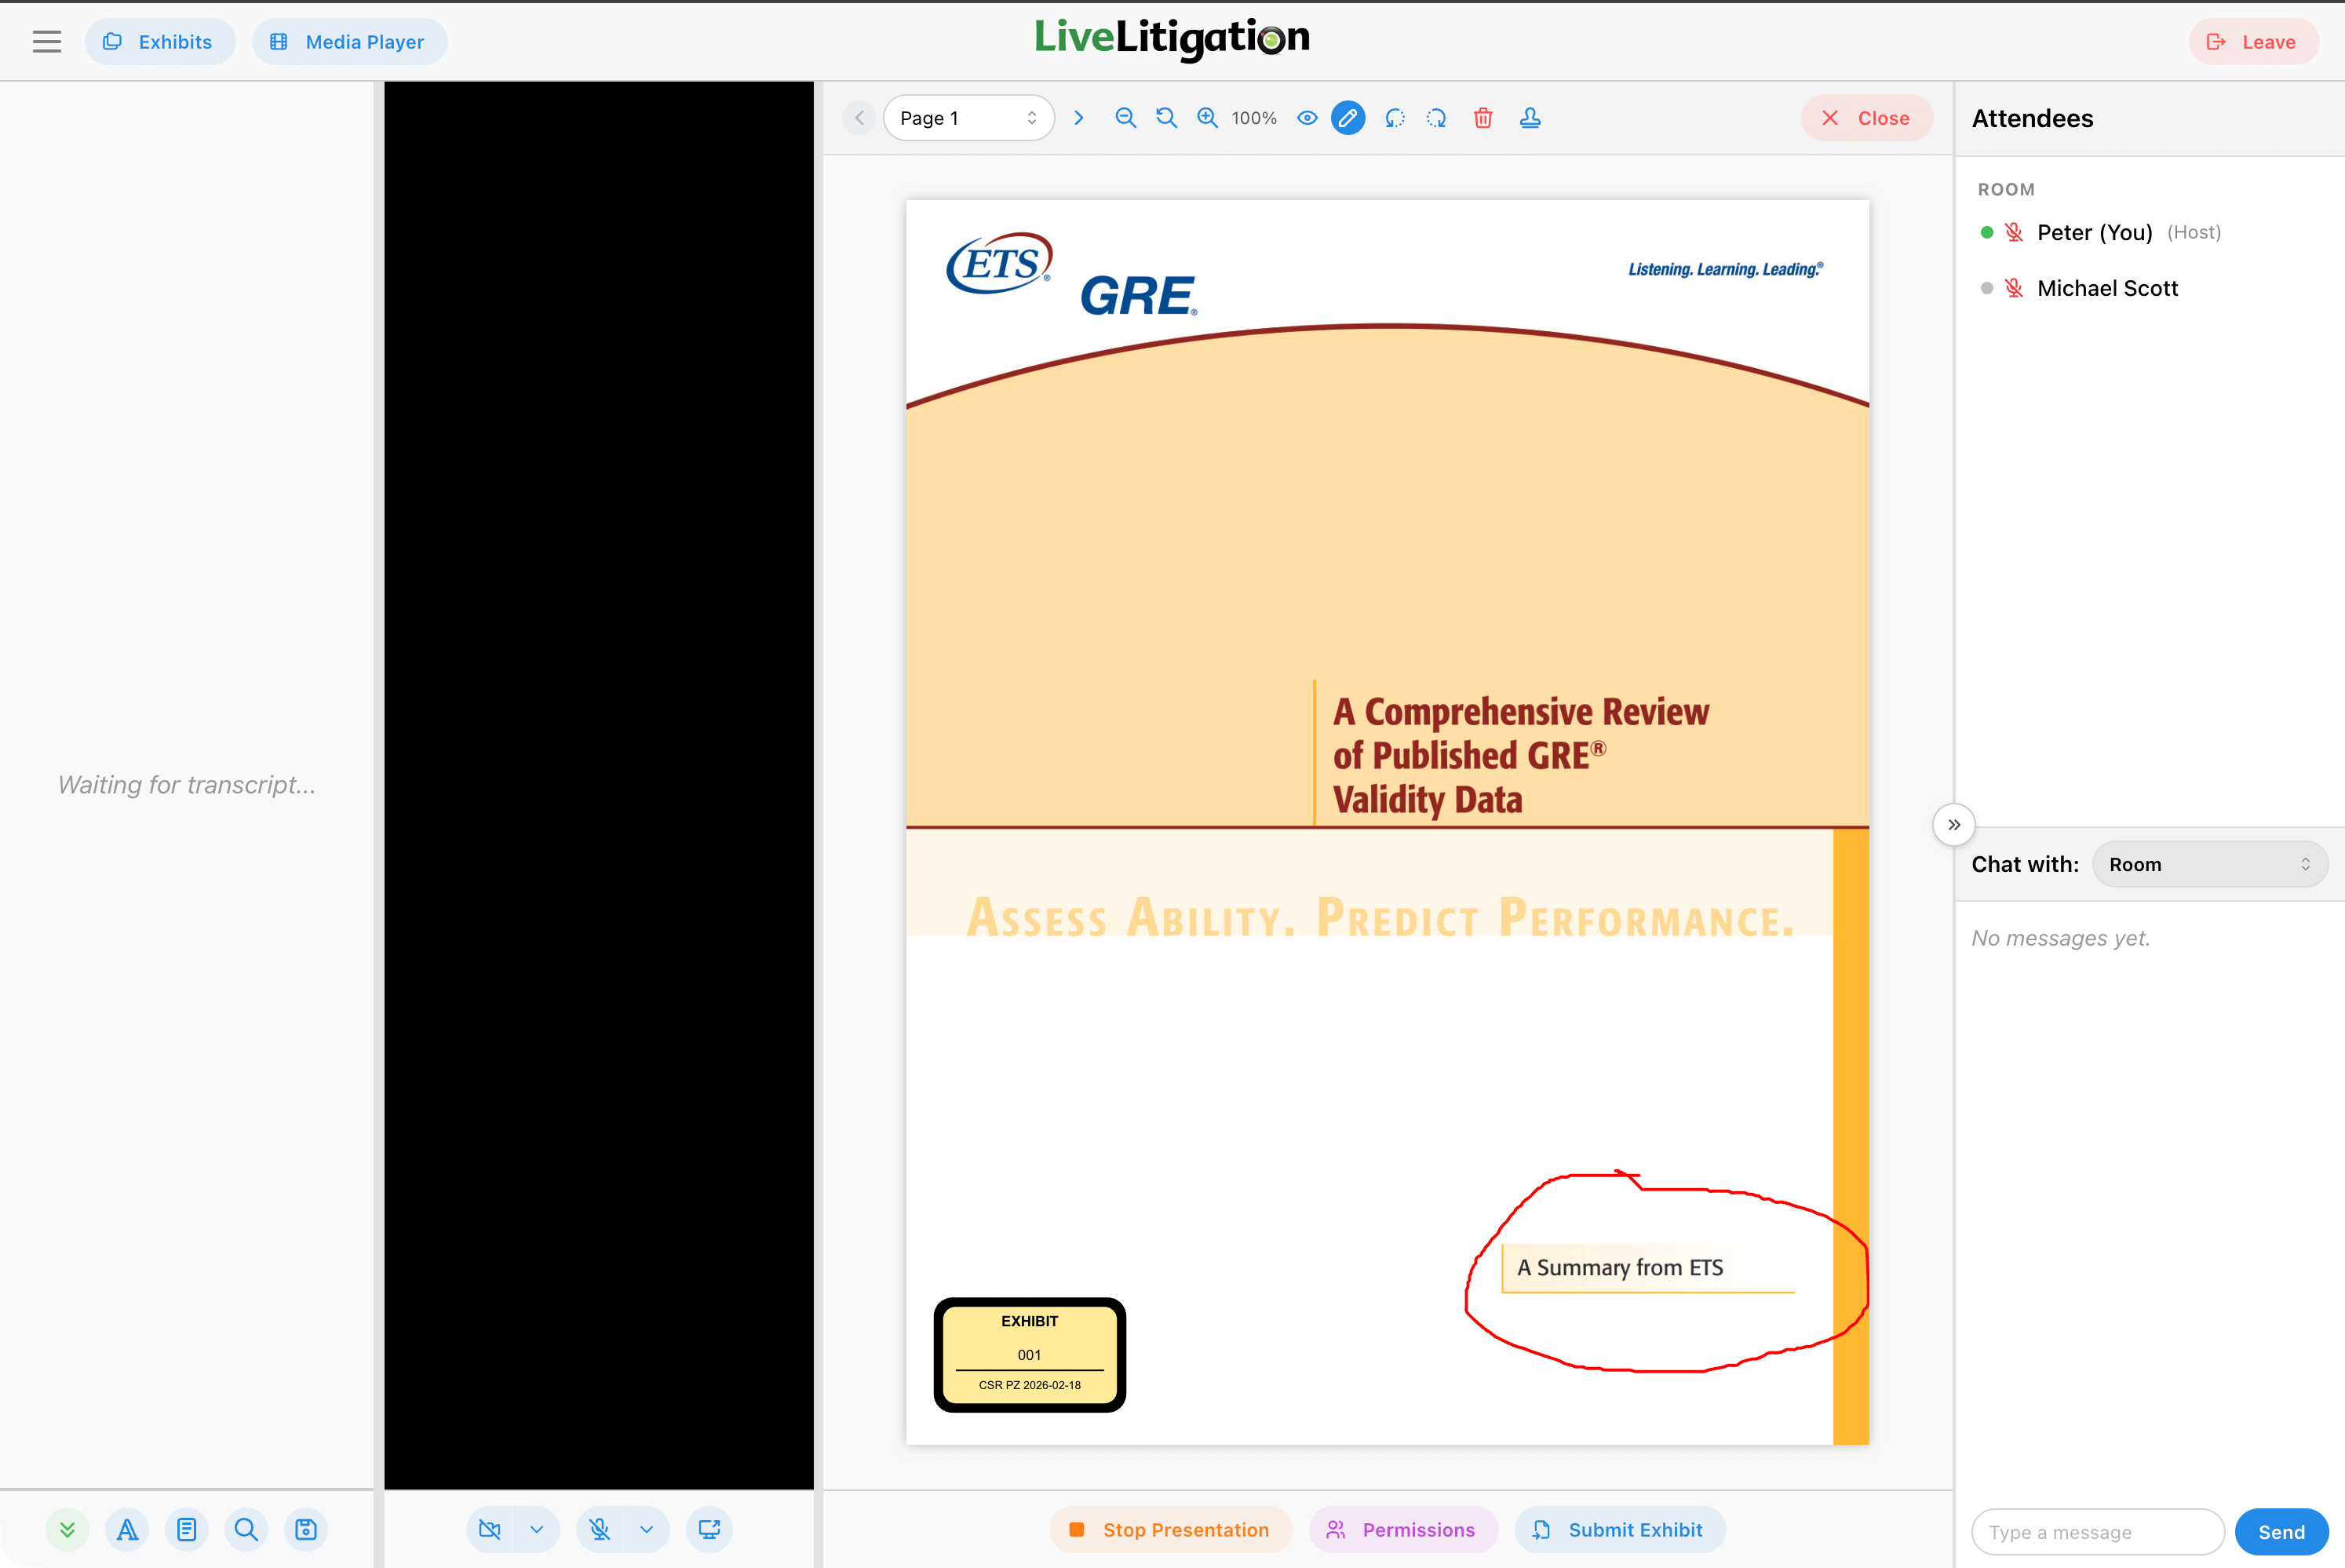
Use the markup tools to annotate an exhibit. You can draw directly on the document while it is being presented, and all participants see the markup in real time.

  • Select / Move - pick up and reposition something you already drew.
  • Freehand draw - draw directly on the page.
  • Highlight box - drop a translucent box over a passage.
  • Shapes - add a box, line, or arrow.
  • Add stamp - place an exhibit stamp (see step 6).
  • Stroke color, Stroke thickness and Background color - set how the next mark looks.
  • Undo last stroke - step back one mark at a time.

The toolbar always shows the same tools. When something is not available to you it is greyed out rather than hidden, so a tool you cannot use is not a sign that anything is broken. View only means you can see the markup but not add to it.
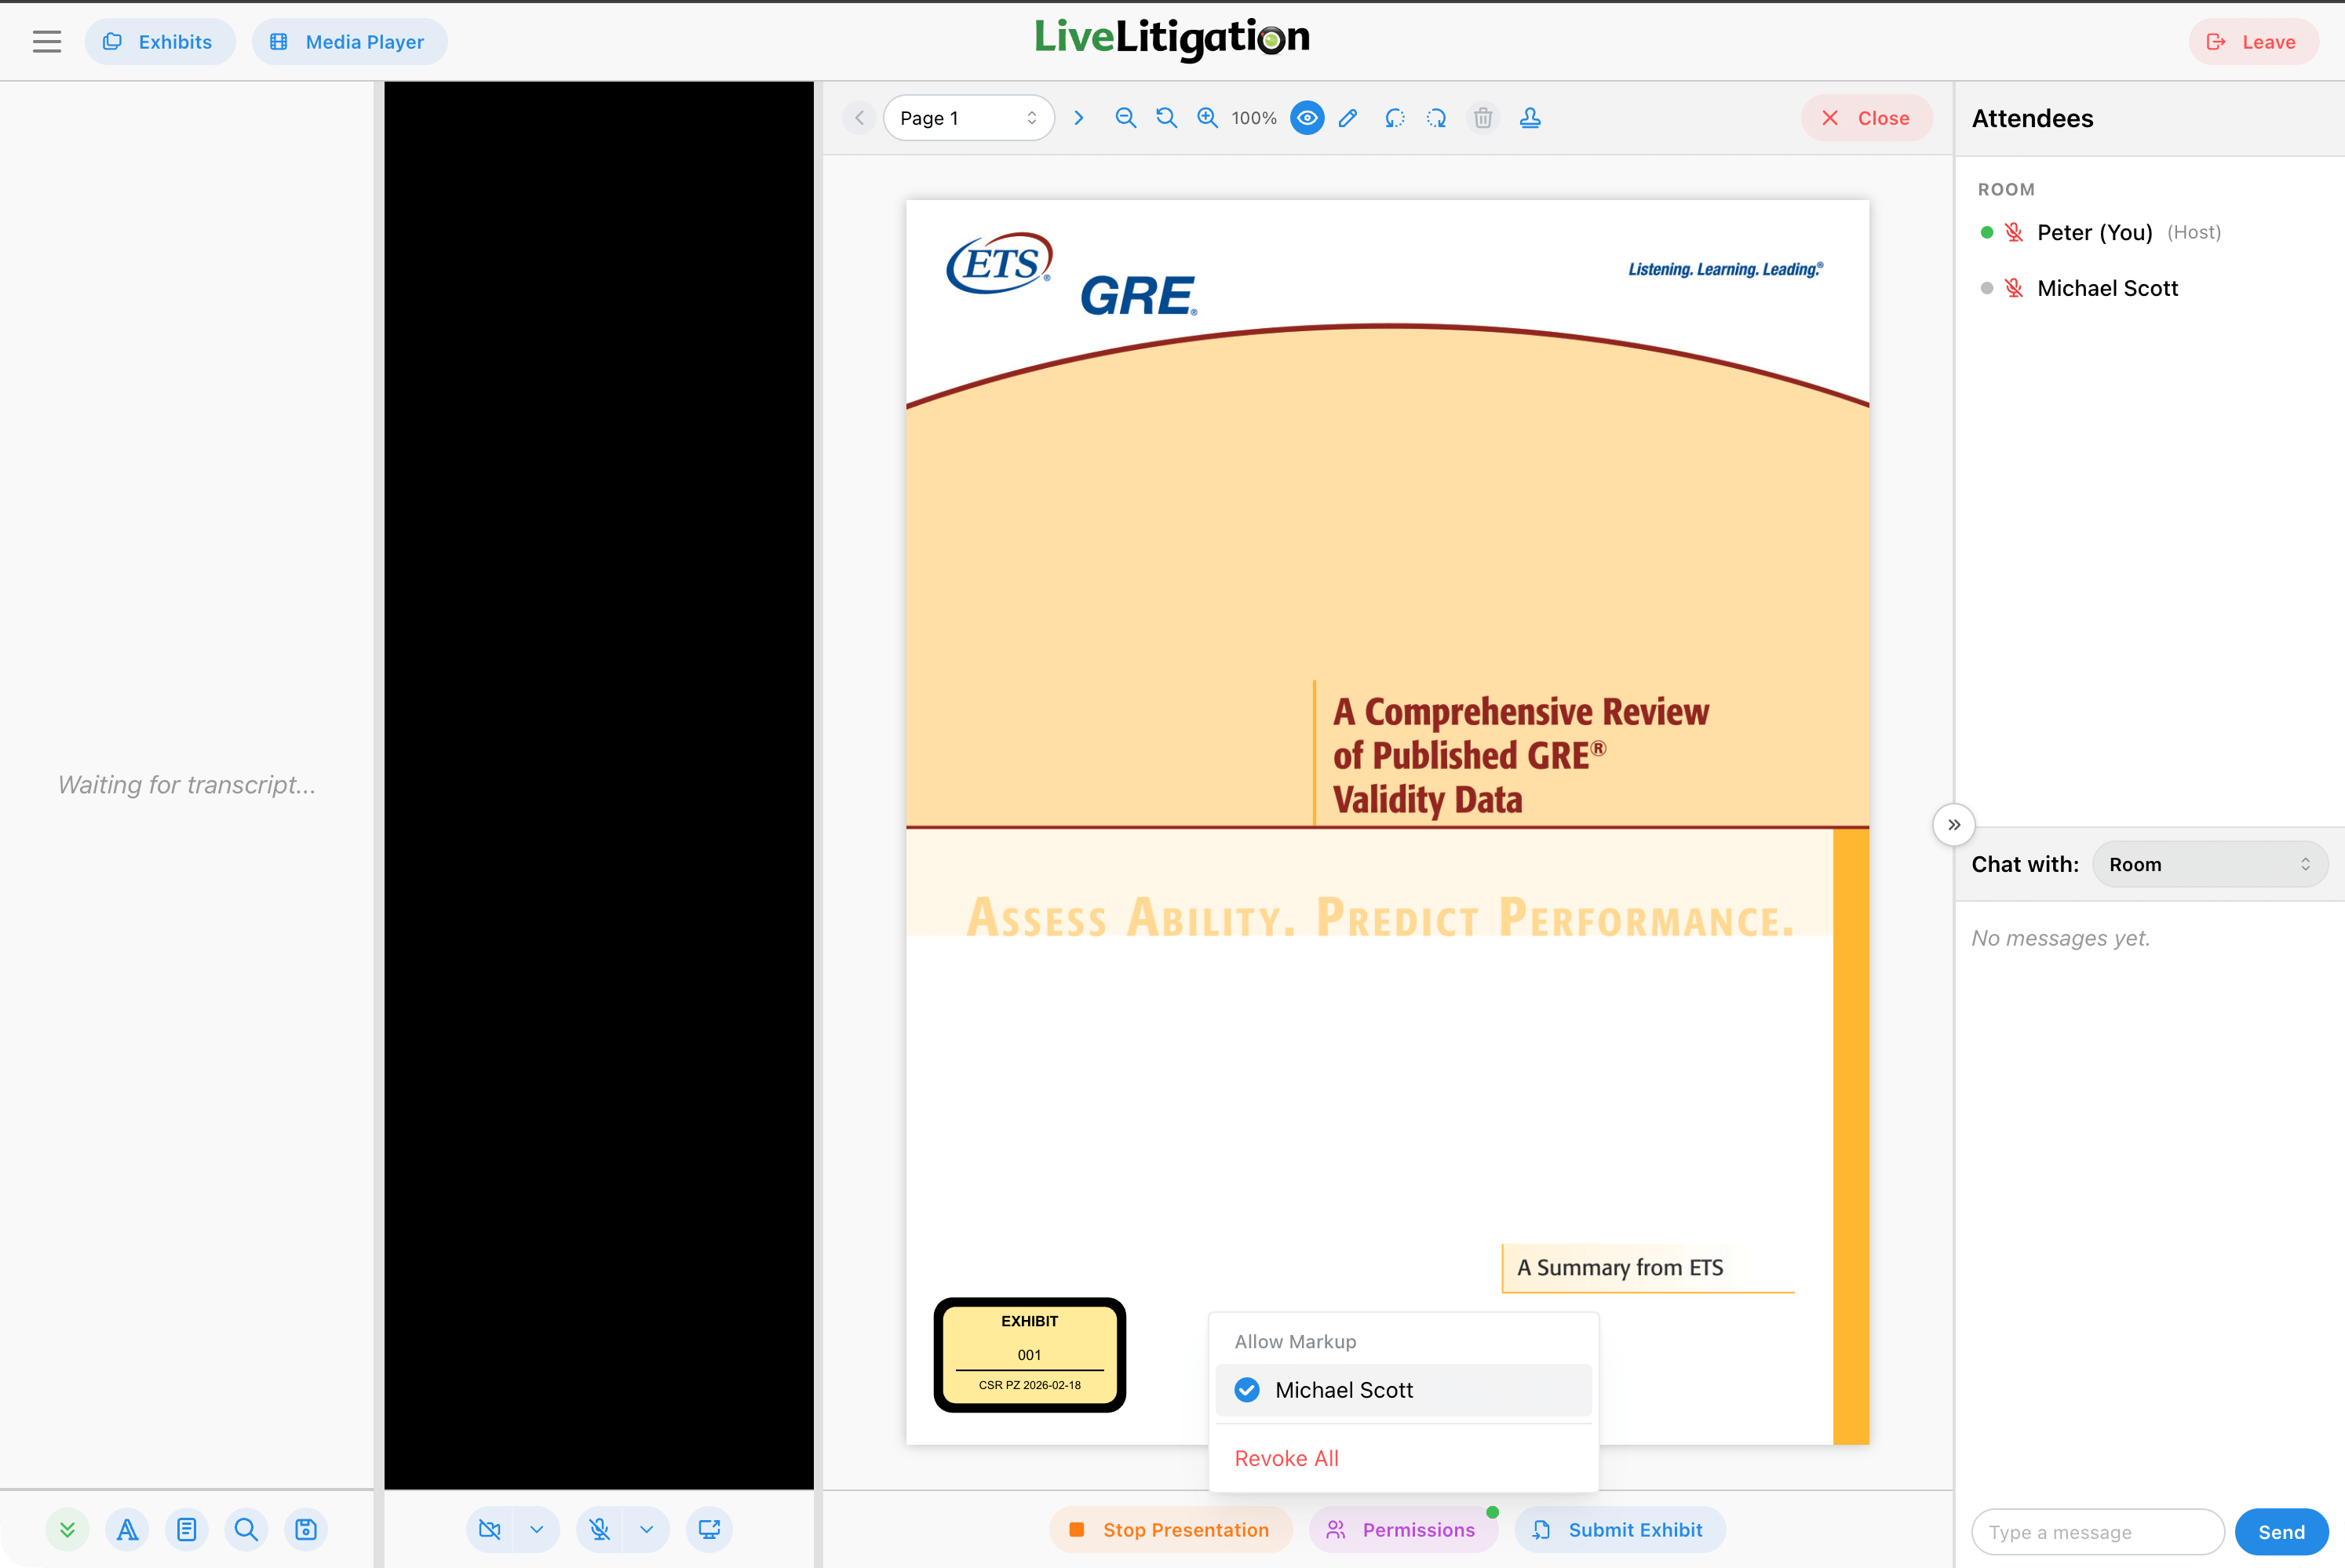
Markup tools on an exhibit

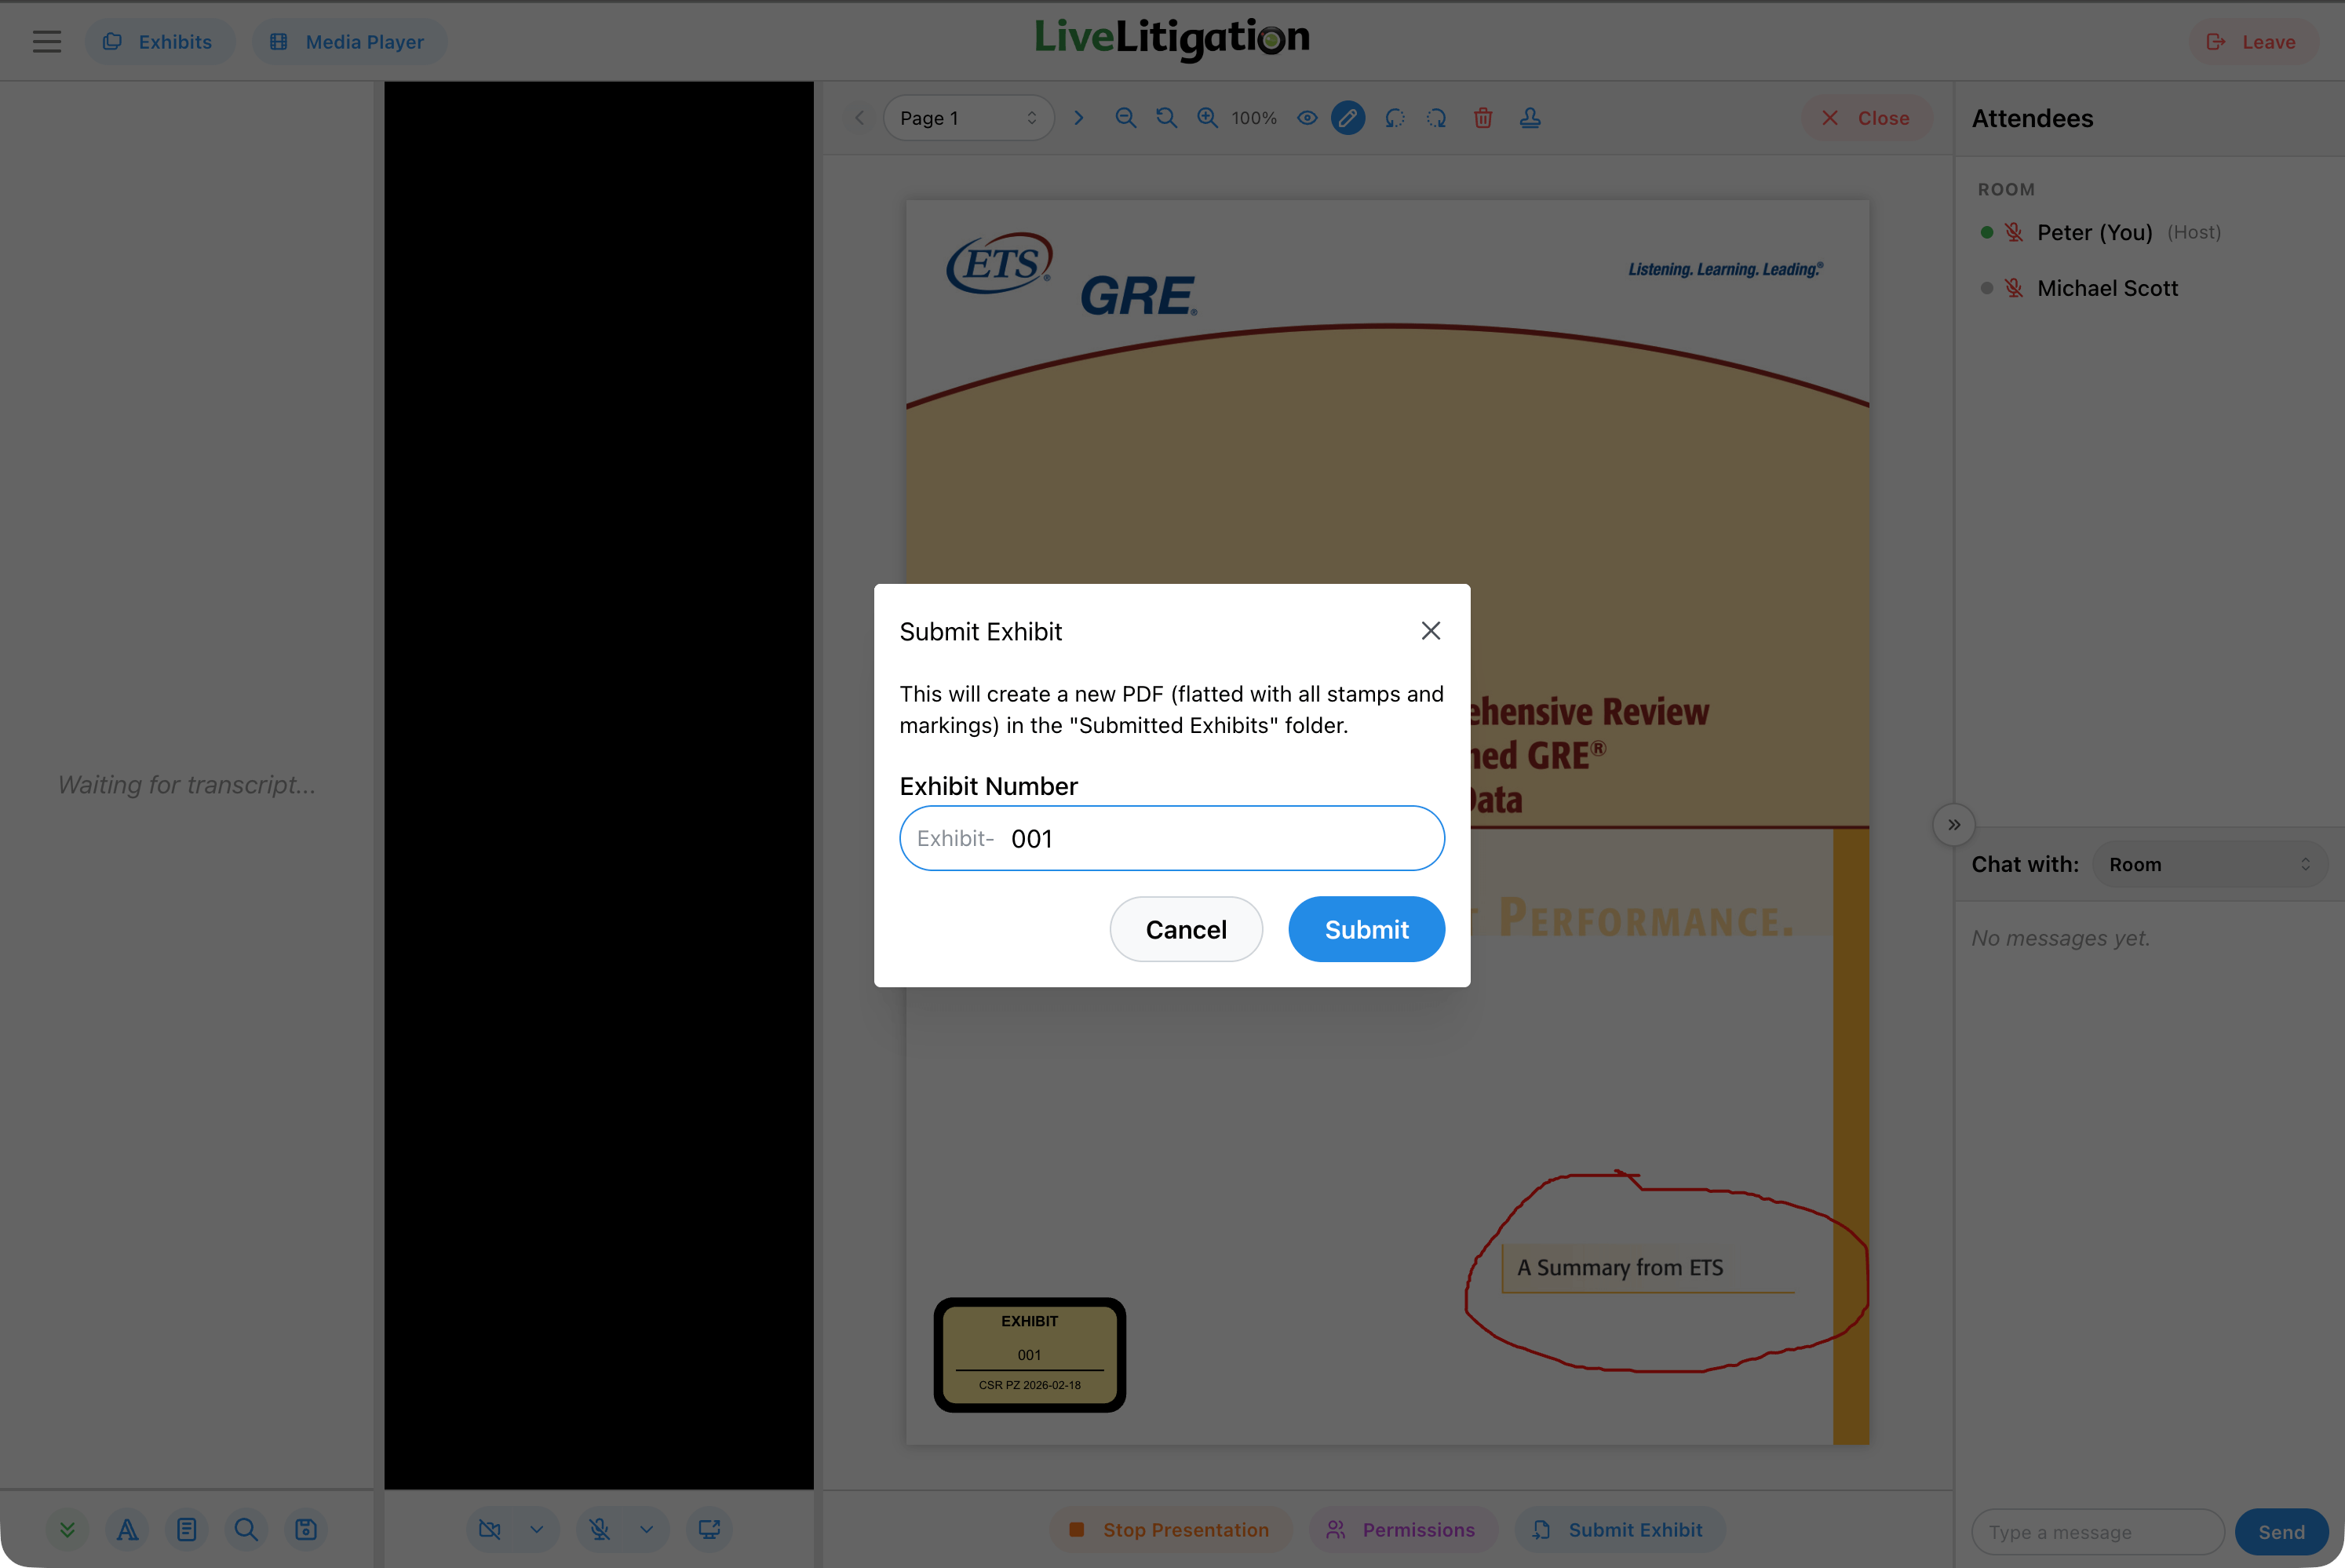
9. Submit Exhibit

Click Submit create a new copy of the document with all stamps and annotations.
  • The Submitted Exhibits will appear in a separate folder in the exhibit list.
  • Original files remain untouched.
Submit exhibit dialogSubmitted exhibits folder

Explore the platform